Carpentry in Richmond VA
Drywall Completion with Mold and Trim Installation in Richmond VA
Installing Molding and Trim
We've almost reached the end of our project! After drywall installation, adding molding and trim enhances the aesthetics of a room by providing a finished look to doors, windows, ceilings, and baseboards. It also conceals joints between walls and other surfaces, creating a clean and polished appearance. Our drywall experts excel in the art of applying trim and molding to round out the drywall installation process.
Types of Molding and Trim
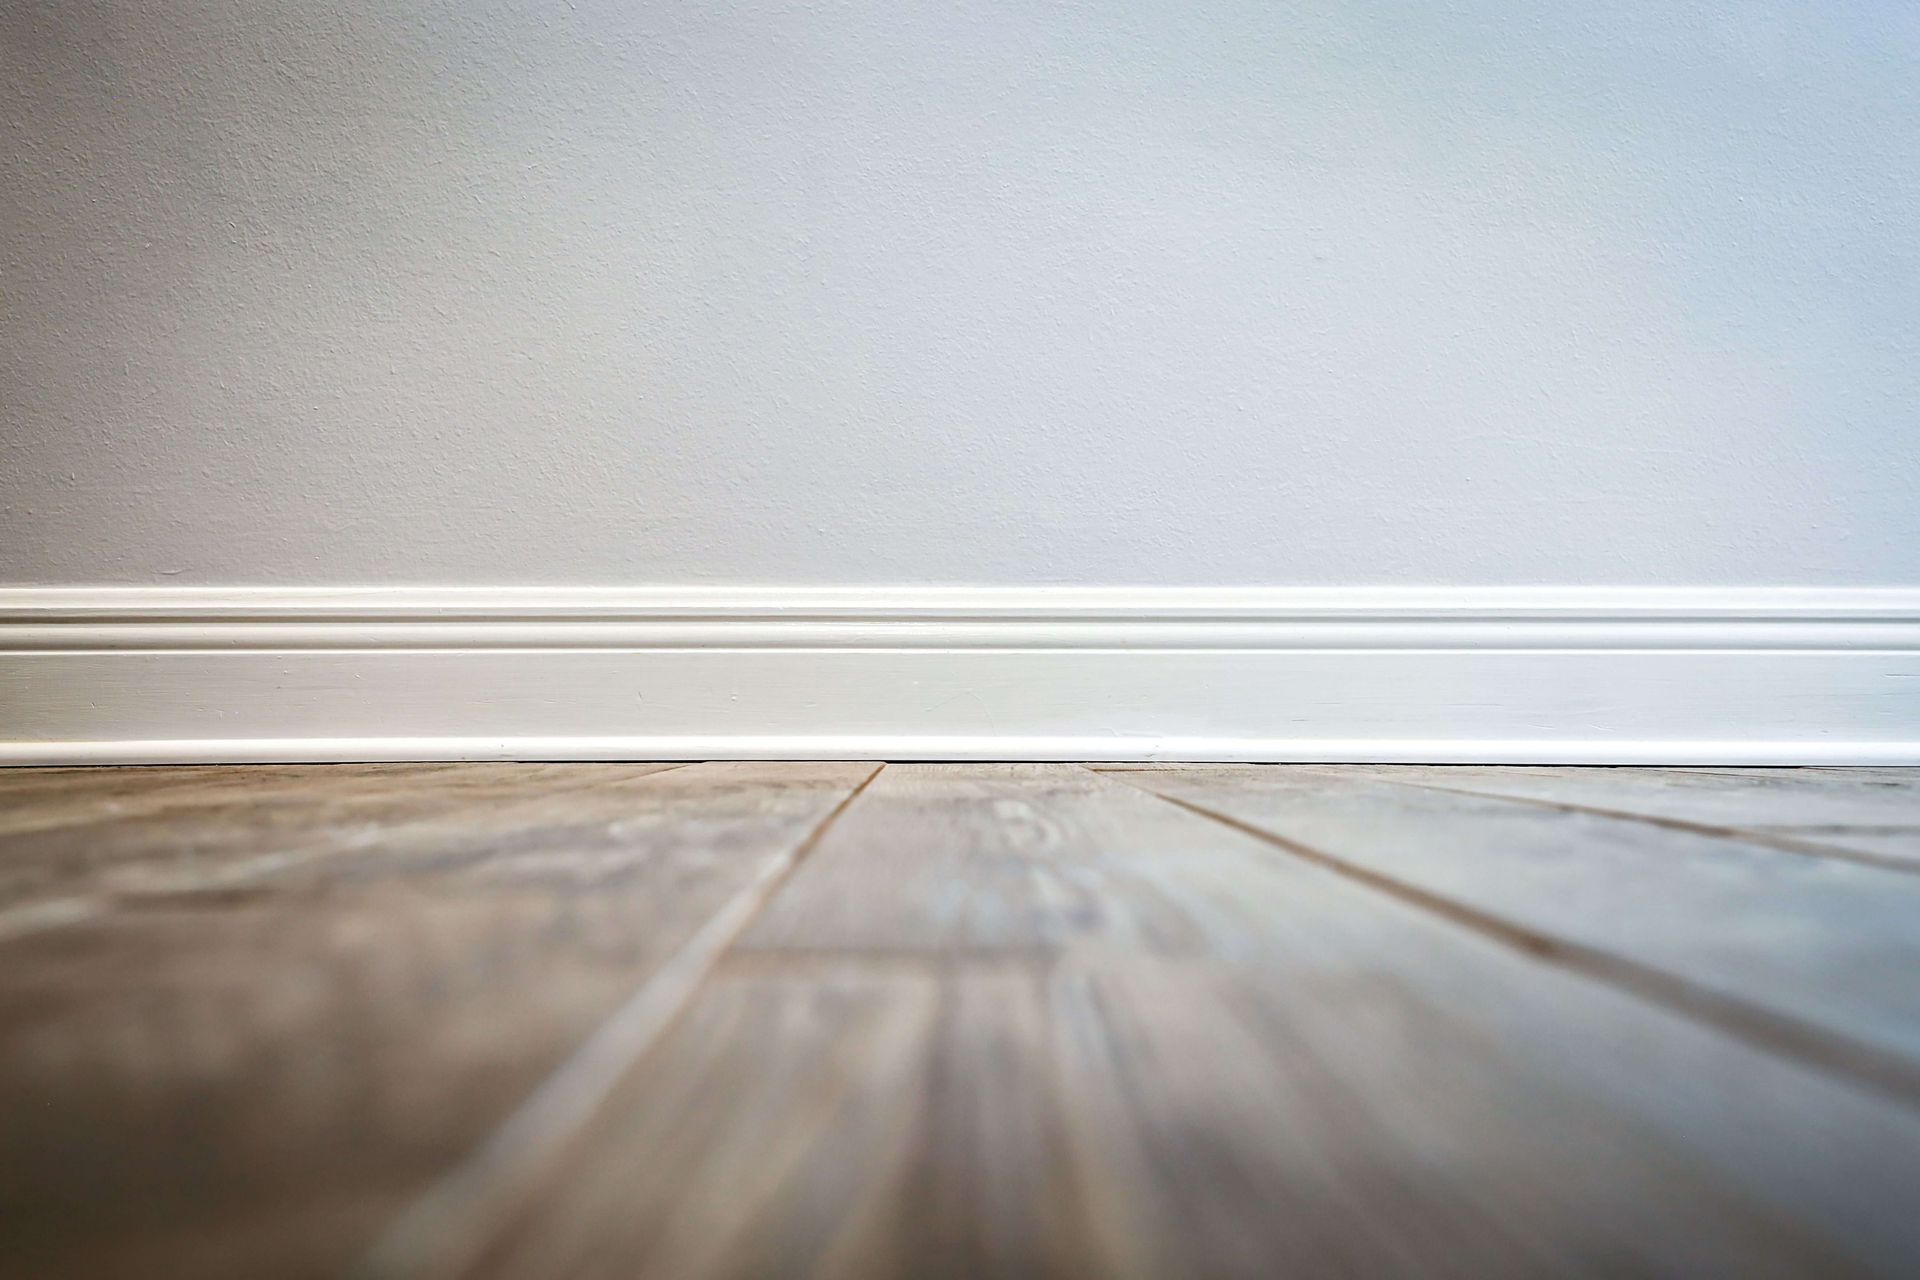
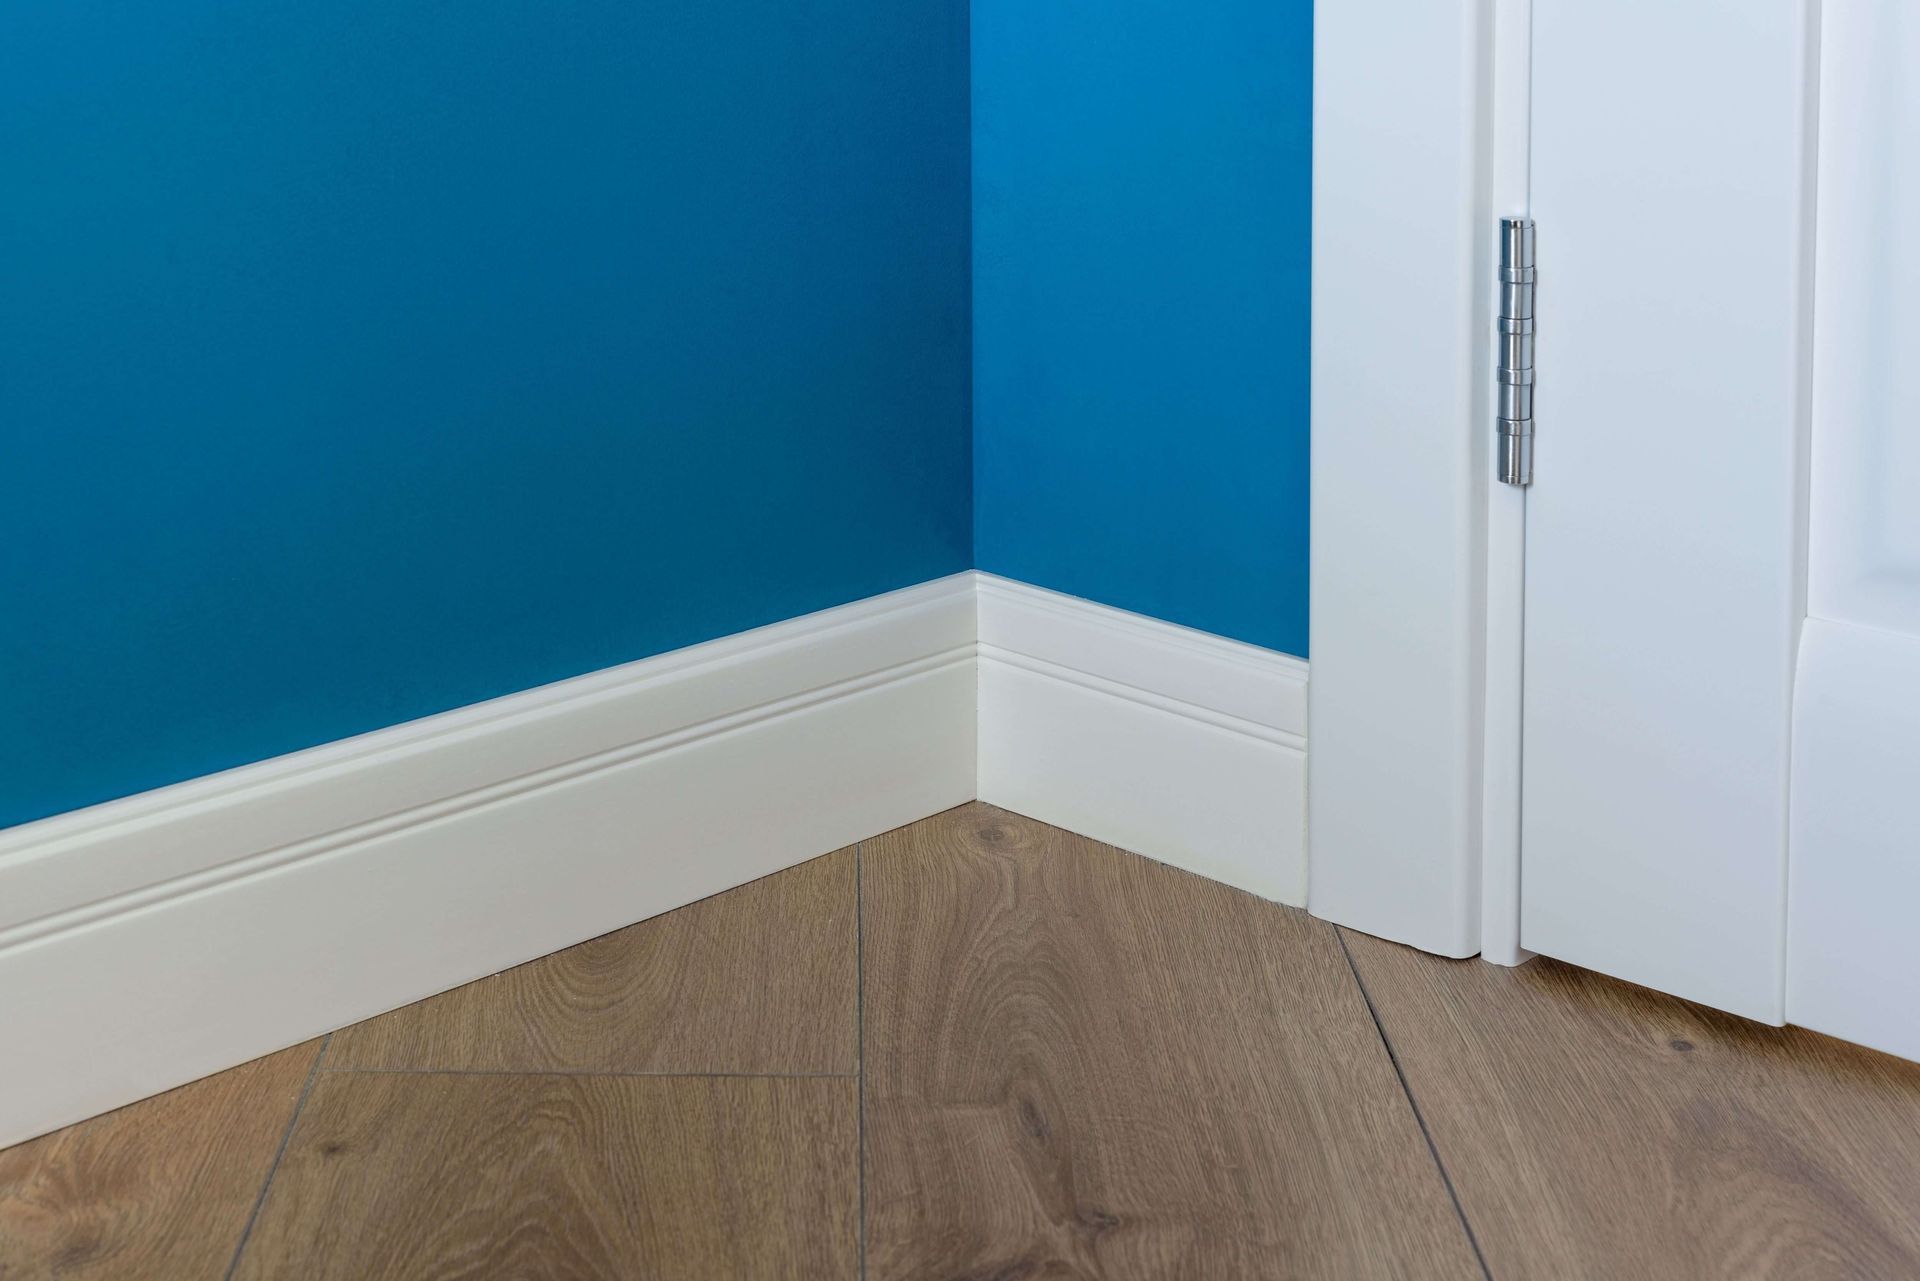
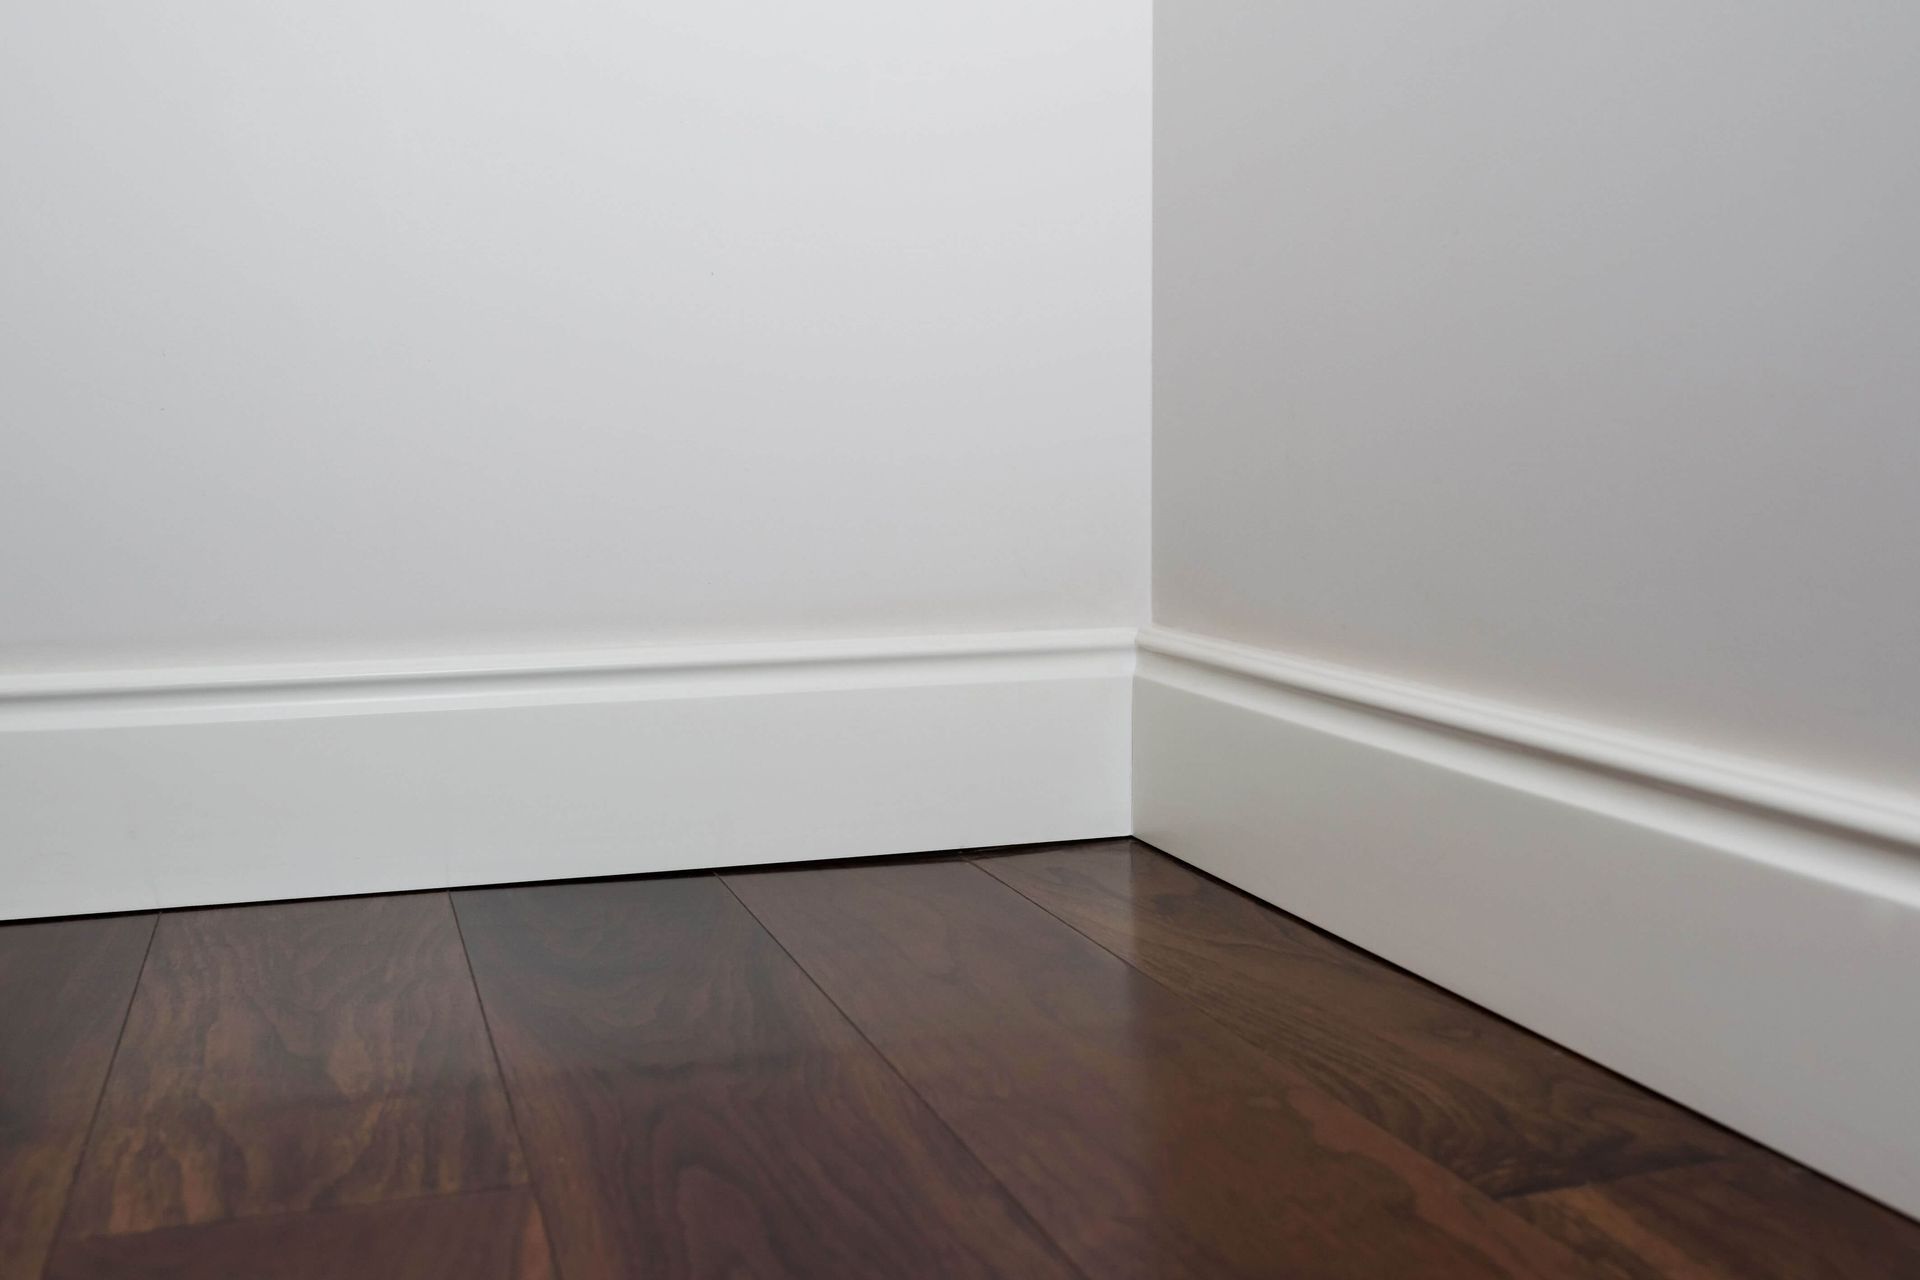
- Baseboards: Installed at the bottom of walls, baseboards protect the wall from damage and cover the joint between the wall and the floor.
- Crown Molding: Placed at the intersection of walls and ceilings, crown molding adds an elegant touch and visually enlarges the room.
- Door and Window Casing: Frames around doors and windows, enhancing their appearance and hiding gaps between the wall and the window or door frame.
- Chair Rails and Wainscoting: Chair rails are installed at chair height on walls to protect them from chair backs, while wainscoting involves decorative panels covering the lower portion of a wall.
Installation Process
- Measuring and Cutting: Precise measurements are taken, and the molding or trim pieces are cut accordingly using a miter saw or other appropriate tools.
- Attachment: Pieces are attached to the wall using nails, screws, or an adhesive, ensuring they are level and securely fastened to the wall or ceiling.
- Caulking and Finishing: Caulk is used to fill gaps between the molding/trim and the wall or between joints. After application, the caulk is smoothed out for a seamless finish.
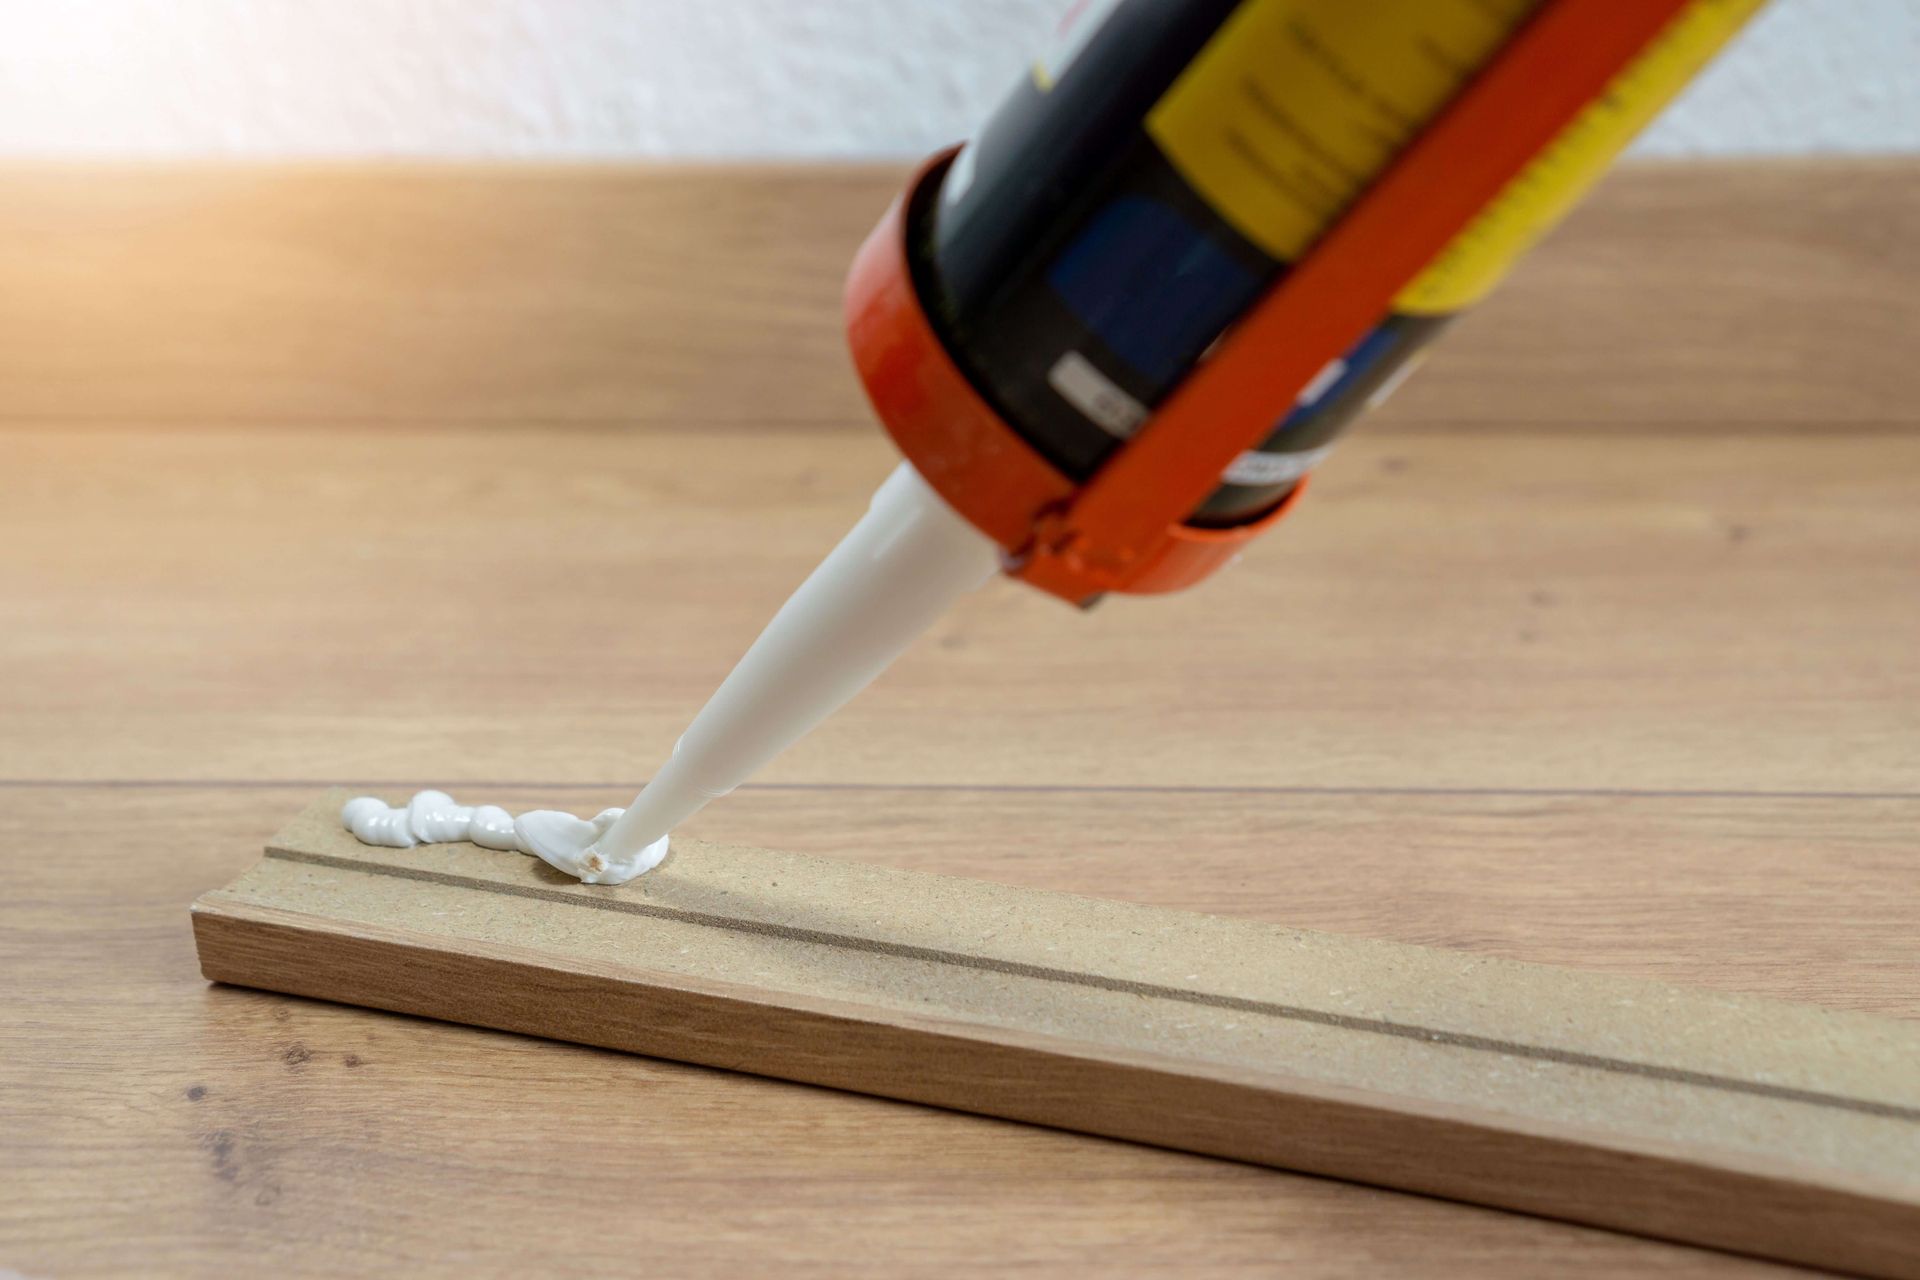
Caulking Tips for Molding and Trim
- Select the Right Caulk: Use paintable acrylic latex caulk for most indoor applications. Ensure it matches the color of the molding or can be painted over.
- Prepare the Surface: Clean the surfaces thoroughly before applying caulk to ensure proper adhesion.
- Apply Caulk in Moderation: Use a caulk gun to apply a thin, even bead of caulk along the edges. Avoid over-applying, as excess caulk can be difficult to smooth out.
- Smooth the Caulk: Use a damp cloth or a caulk finishing tool to smooth and shape the caulk, creating a clean and professional-looking finish.
Benefits of Molding and Trim Installation
- Enhanced Aesthetics: Molding and trim add visual appeal, elevating the overall appearance of a room.
- Protection and Concealment: They protect walls and edges while concealing imperfections or gaps between surfaces.
- Customization: Various styles and designs allow for customization to suit different architectural themes or personal preferences.
Installing molding and trim after drywall installation provides a finishing touch that enhances the aesthetics of a room. Various types of molding and trim serve functional and decorative purposes, while proper installation and finishing techniques, including caulking, result in a polished and professional appearance.
Get Instant Quote
Drywall Leads