
How to Soundproof Your Room with Drywall
Soundproofing your home with drywall
Soundproofing a room can be a great way to block out noise from outside, or to keep sound from traveling outside of the room. It is also a great way to increase the privacy and security of any space. Not only is soundproofing a great solution to these types of problems, but it's also relatively easy to do with drywall. In this article, we'll discuss the benefits of soundproofing with drywall, the materials you will need, the step-by-step instructions on how to do it, and troubleshooting common problems. With the right materials and a little bit of patience, you'll be able to soundproof your room with drywall in no time.
Benefits of Soundproofing with Drywall
Soundproofing your home is becoming increasingly important. With the amount of noise pollution in urban areas, it’s important to take steps to keep your home peaceful and quiet. Soundproofing with drywall is one of the easiest and most effective solutions for creating a peaceful and quiet environment in your home. Drywall is an effective and affordable material for soundproofing your room. It’s a relatively straightforward process and it can be completed in a matter of hours. Drywall is also an excellent material for soundproofing because it has a high sound absorption coefficient and can absorb a wide range of frequencies. It also has a high sound transmission loss, meaning it will block out any outside sounds from entering your home.There are several benefits to soundproofing with drywall. It’s an affordable solution that can be completed in a relatively short amount of time. It’s also an effective way to reduce noise and soundproof your room. Drywall is also easy to install and can be done by almost anyone. Soundproofing with drywall can also provide more than just noise reduction. It can create a more comfortable living environment by blocking out external noise and providing a more peaceful environment. It can also help to improve the acoustics of your room by absorbing sound waves and preventing echoes. Overall, soundproofing with drywall is an effective and affordable solution for reducing noise in your home. It can be completed in a relatively short amount of time and can provide a more peaceful living environment. It’s also an excellent way to improve the acoustics of your room and block out external noise.
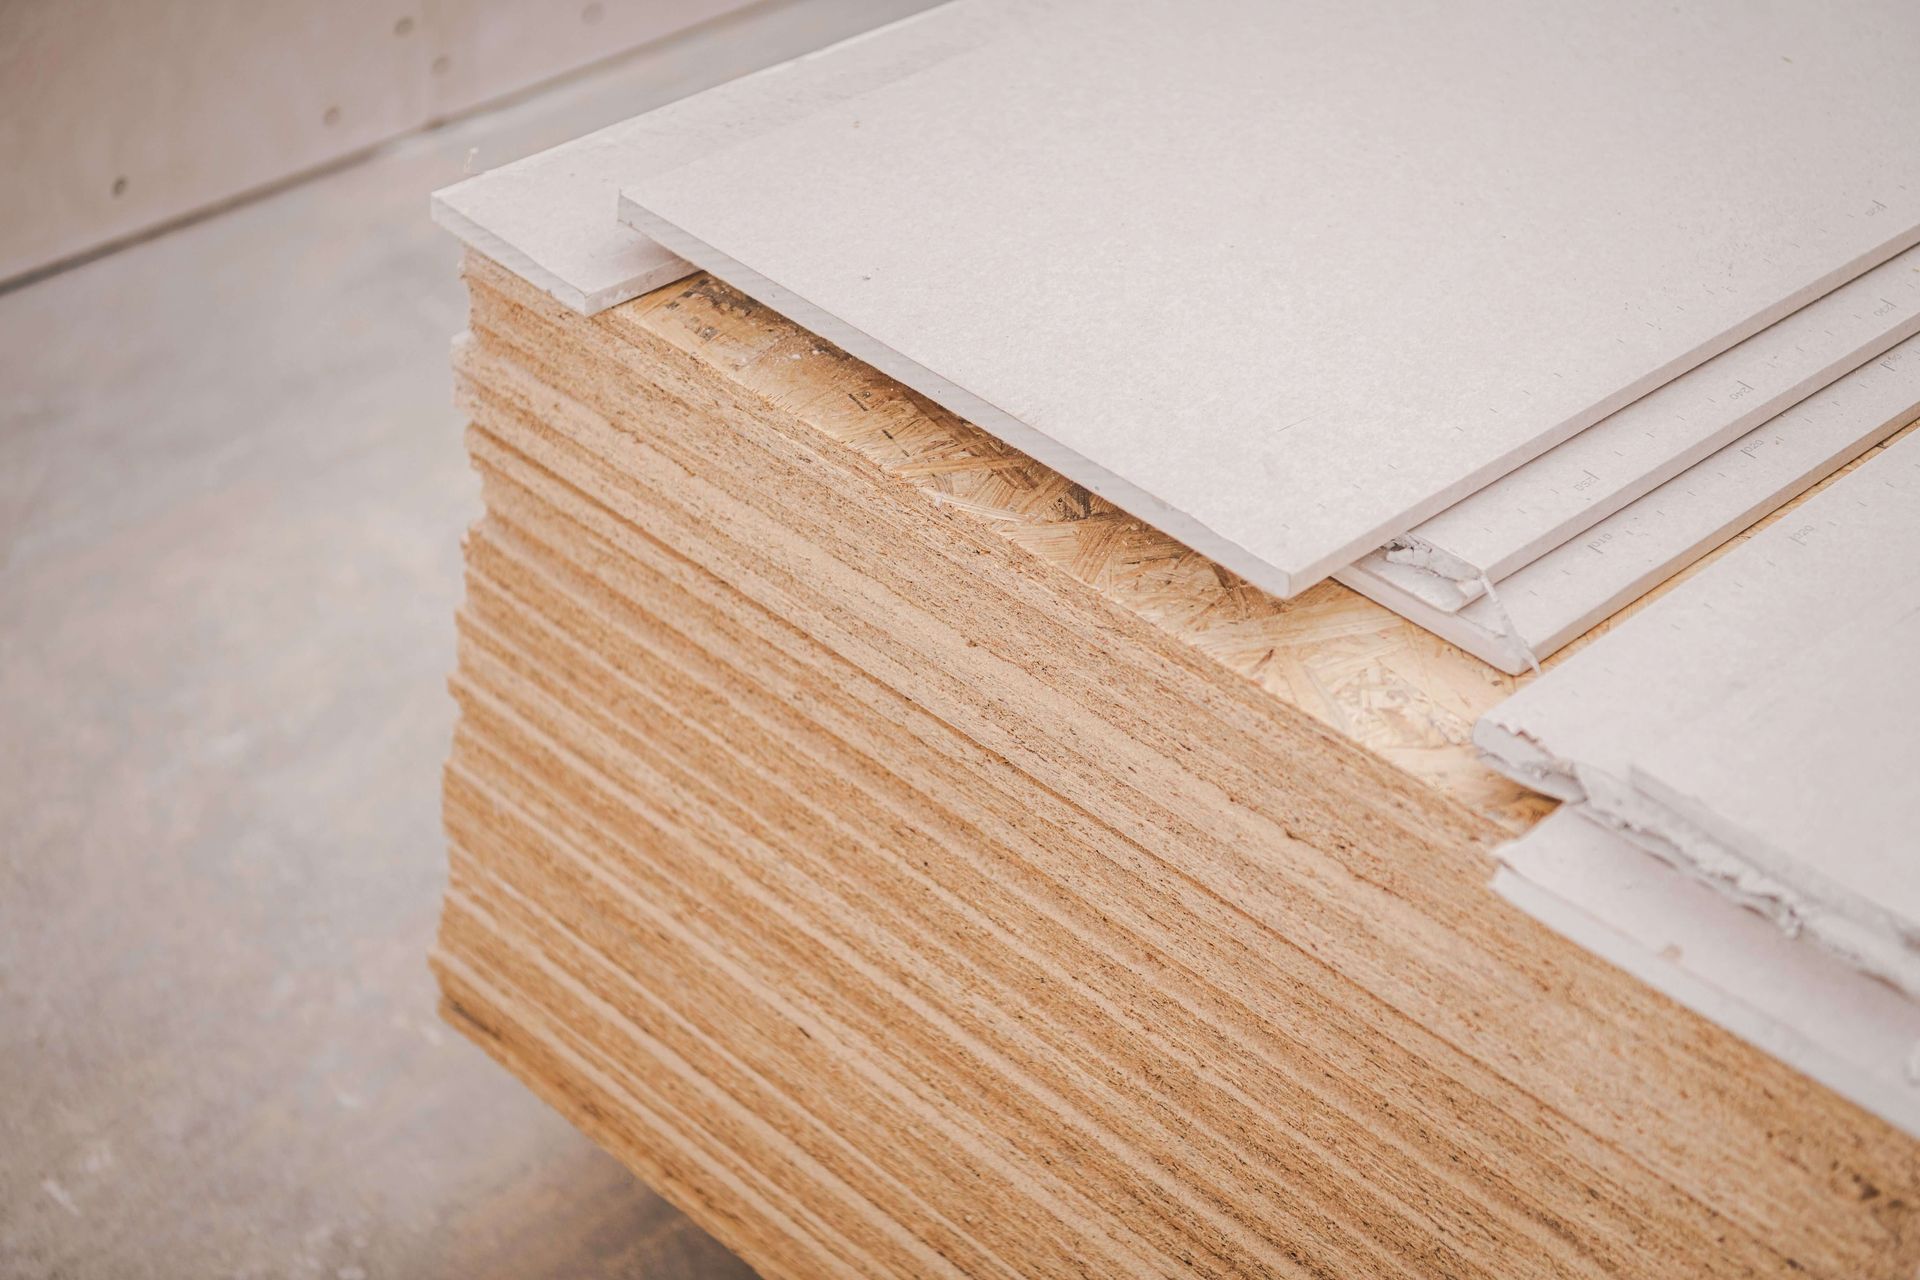
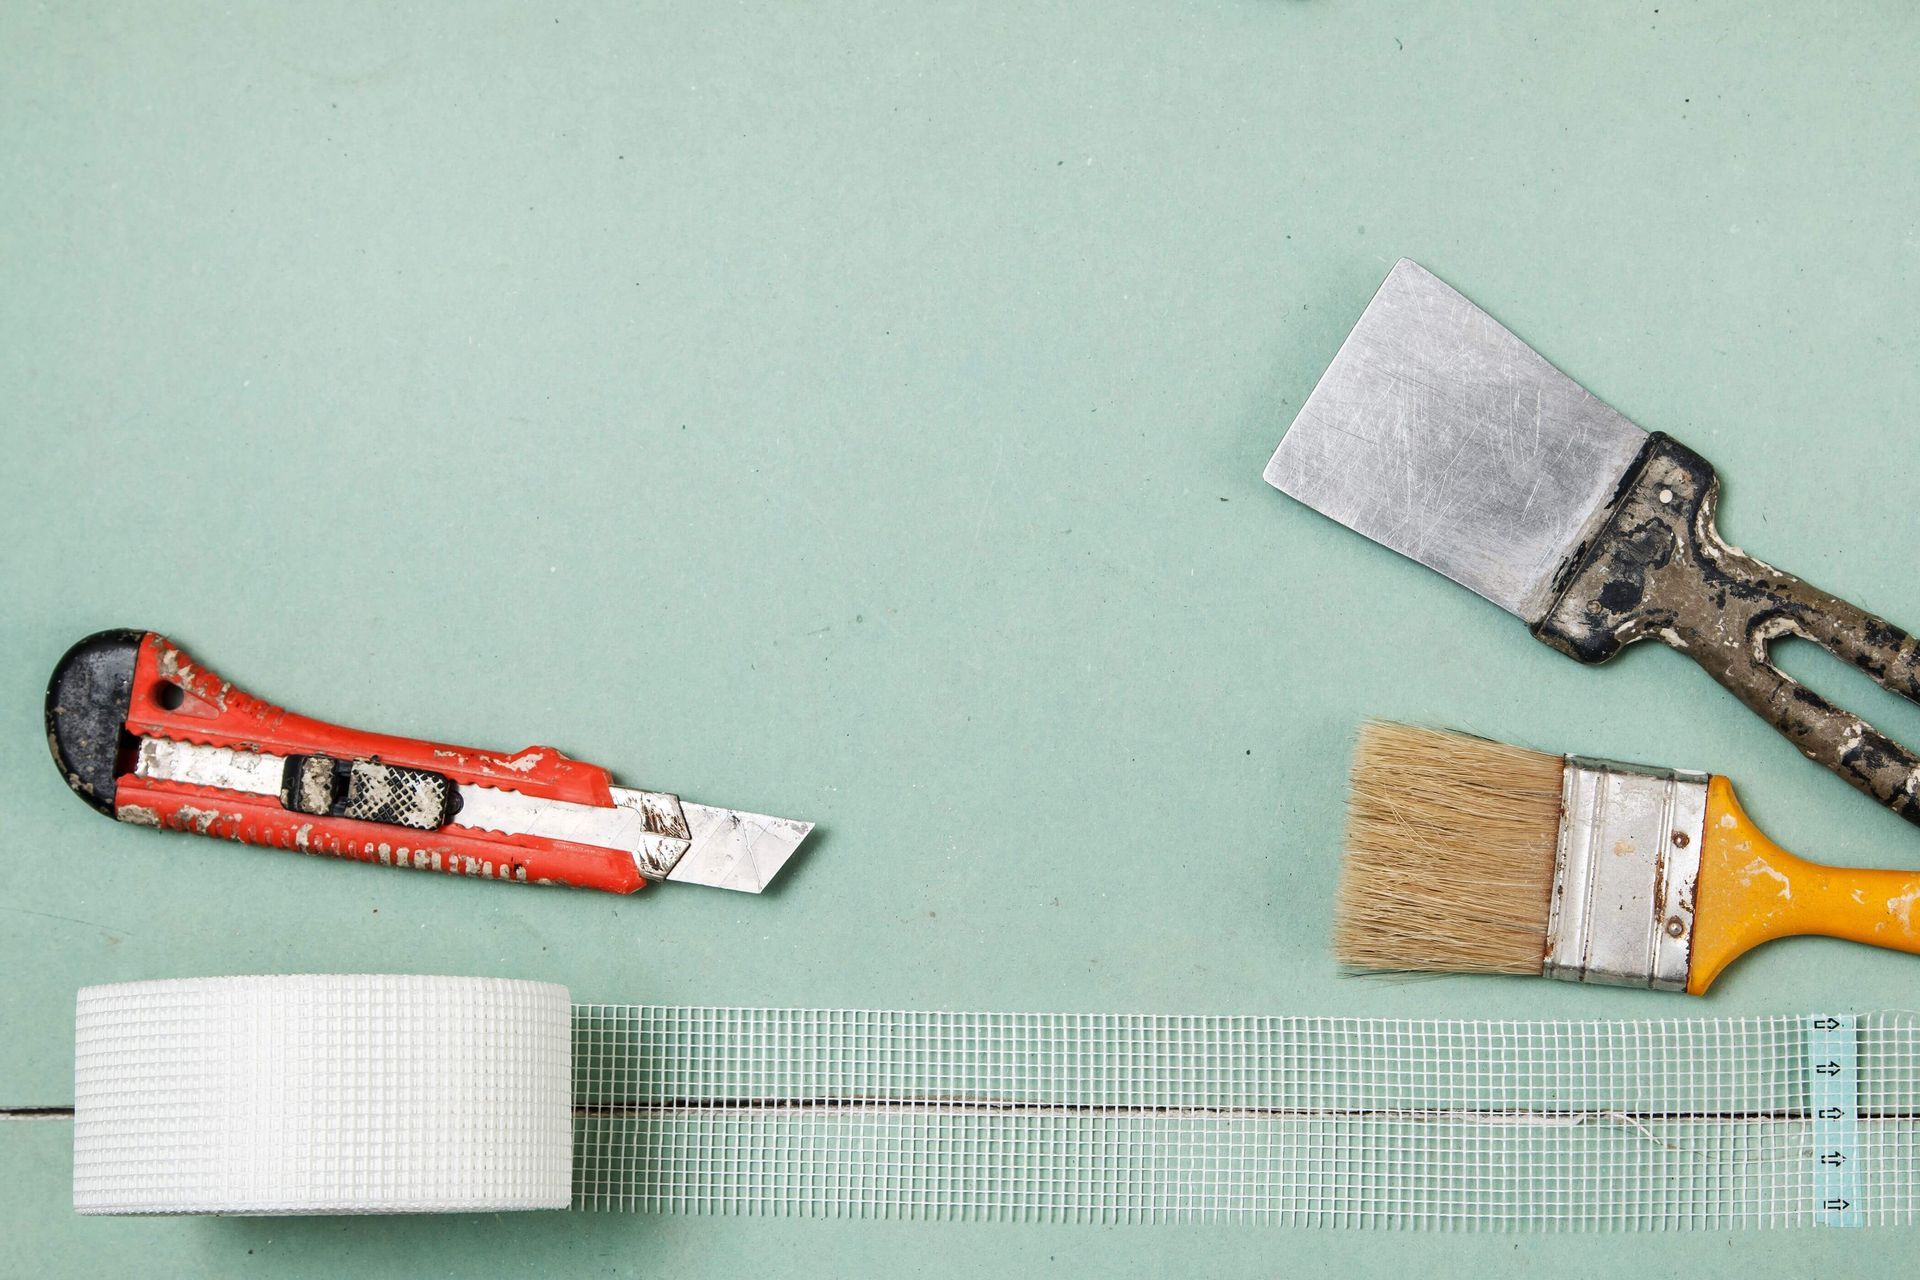
Materials Needed
For soundproofing with drywall, you will need the following materials: - Drywall: Choose drywall that is rated for soundproofing, such as QuietRock or Certainteed QuietZone.- Hammer- Nails- Screws- Utility knife- Tape measure- Level- Drywall saw- Drywall compound- Joint tape- Sandpaper- Sealing compound- Acoustic sealant- Acoustic caulk- Acoustic insulation- Soundproofing foam- Adhesive- PaintDepending on the size of the room, you may also need additional materials such as additional drywall panels, adhesive, and screws. It is also a good idea to have an extra set of hands to help with the installation process, as it can be difficult to do alone. Finally, you may want to consider investing in soundproofing insulation to provide extra soundproofing benefits.
Step-by-Step Instructions
When it comes to soundproofing your room with drywall, the steps are fairly straightforward. Before beginning, it is important to make sure that you have the right materials and that the area is properly prepared. Materials NeededBefore you begin, you will need to gather the following materials: - Drywall - Drywall screws - Drywall tape - Drywall mud - Utility knife- Acoustic foam Preparing the RoomThe first step is to prepare the room for installation. This involves making sure that the walls and ceilings are clean and free of debris. You should also check for any cracks or holes in the walls that need to be repaired before the drywall is installed.Installing the DrywallOnce the room is prepared, you can begin to install the drywall. Begin by measuring the walls and ceilings and cutting the drywall to fit. Make sure to use a utility knife to make the cuts as precise as possible. Once the drywall is cut, you can attach it to the wall or ceiling using drywall screws. Make sure to space the screws about 8 inches apart. Once the drywall is attached to the wall or ceiling, you should use drywall tape to cover any seams or joints. Drywall mud can then be applied to the tape to seal the seams and joints. Once the mud is applied, it should be left to dry for at least 24 hours before it is sanded and painted.Finishing the DrywallOnce the drywall is dry, it is time to finish the installation. Apply a layer of acoustic foam to the surface of the drywall to help absorb sound. This will help to further soundproof the room. Finally, you can paint the drywall to match the rest of the room. Troubleshooting Common ProblemsIf you encounter any problems while installing the drywall, there are a few things you can do to try and troubleshoot. First, make sure that the drywall is properly attached to the wall or ceiling. If it is not, then you may need to use more screws or replace the ones you have already used. Second, make sure that the drywall tape and mud are applied correctly and that the joints and seams are properly sealed. If the tape or mud are not applied correctly, then you may need to remove them and start again. ConclusionSoundproofing your room with drywall is a relatively simple process. With the right materials and a bit of patience, you can achieve excellent results. By following the steps outlined above, you should be able to create an effective sound barrier between your room and the outside world.
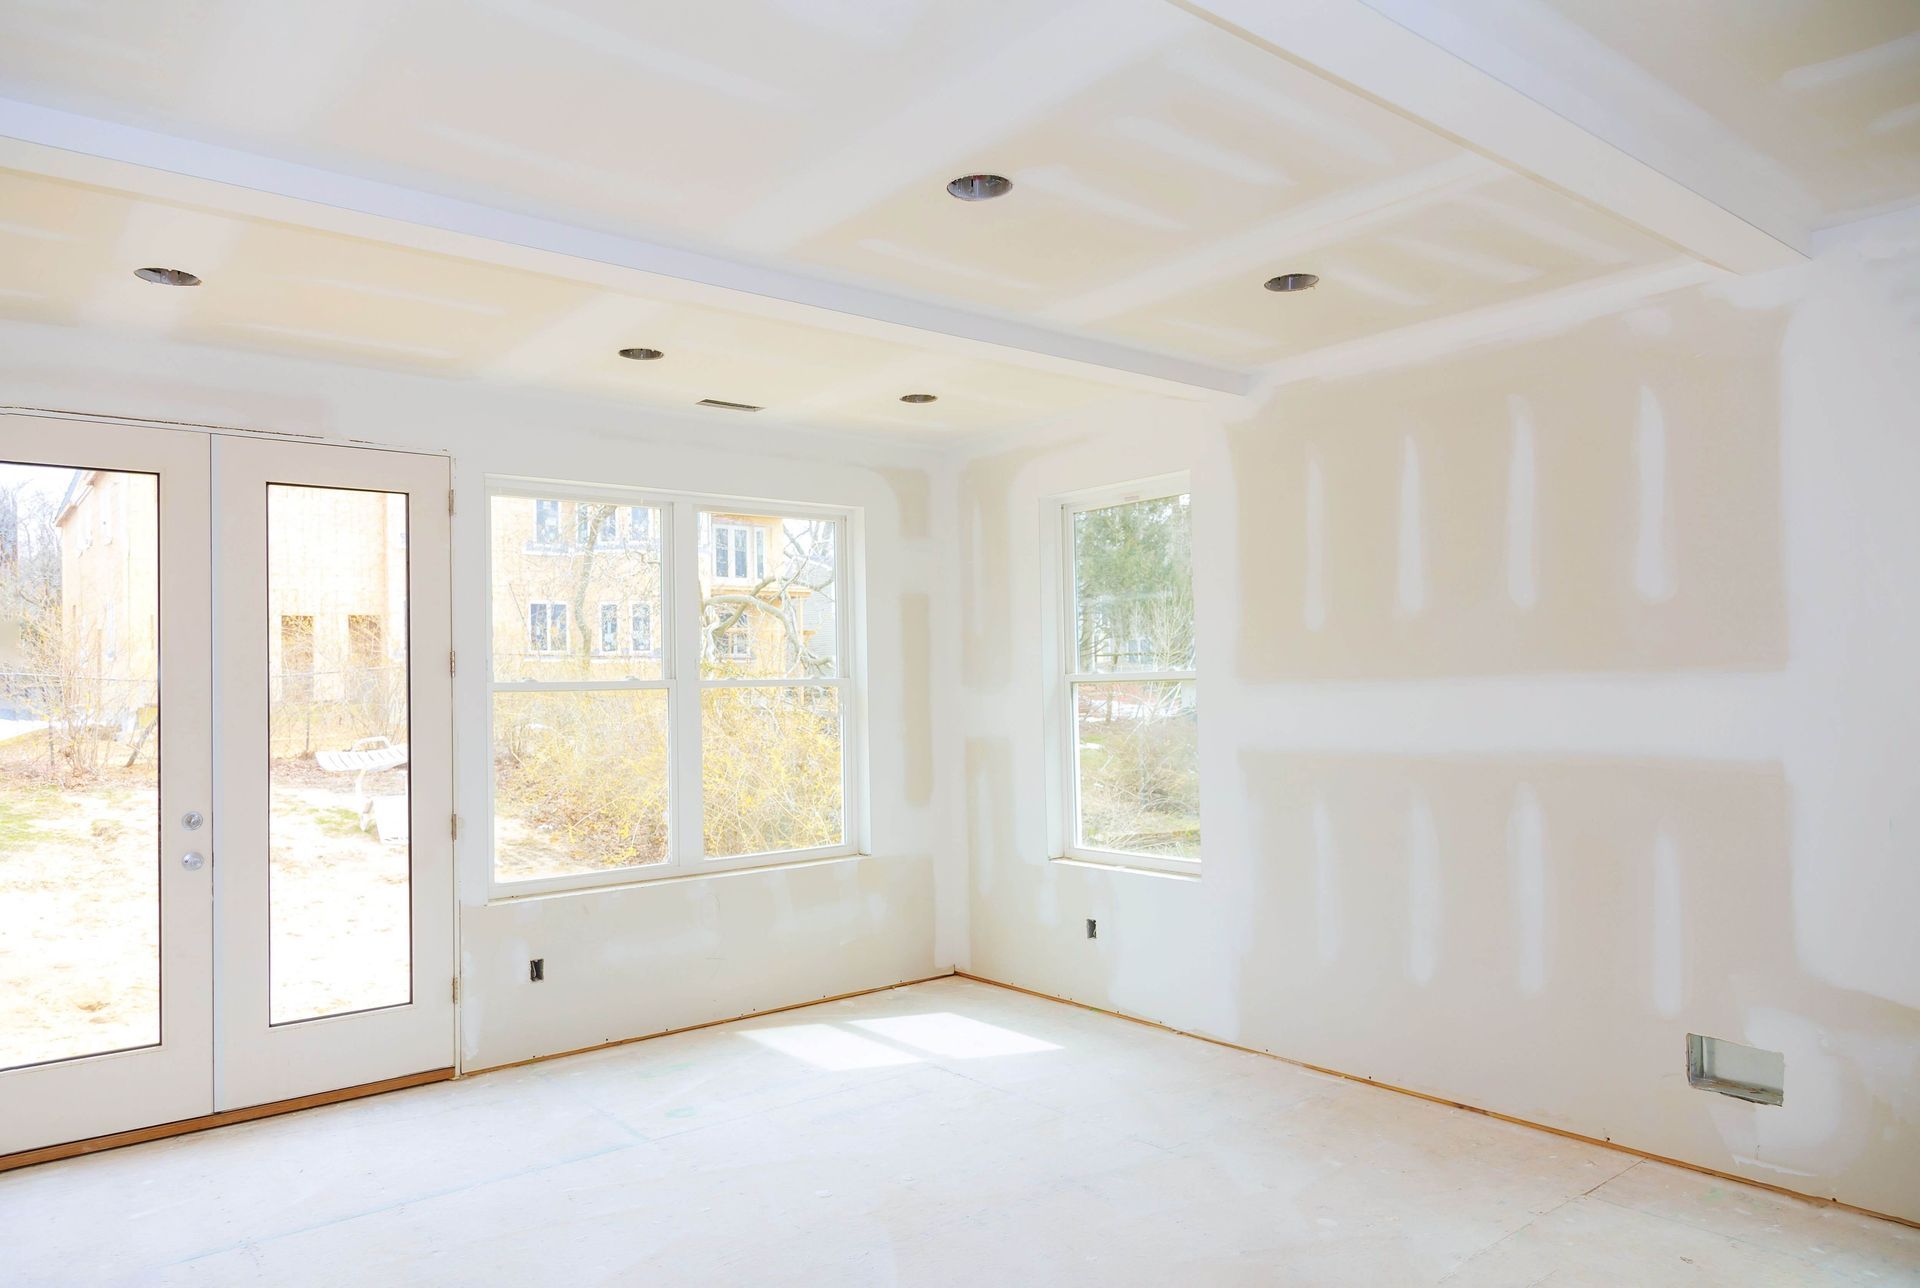
Preparing the Room
When preparing the room for soundproofing with drywall, it is important to take into account the existing conditions of the room and make any necessary preparations before installing the drywall. Begin by inspecting the walls for any existing damage, such as holes, cracks, or other areas that need to be patched or sealed. Make sure to repair any damage before proceeding with the soundproofing process.Next, remove any existing insulation that may be in the walls. If there is existing insulation, it needs to be removed so that the drywall can be properly installed. Also, make sure to remove any trim or molding around the windows and doors, as this may interfere with the installation of the drywall.Once the walls have been cleared of any existing damage and insulation, it is time to begin the soundproofing process. Start by covering the walls with a sound-blocking material, such as foam or acoustic caulk. This material will help to absorb sound and will serve as a barrier between the drywall and the existing walls.Finally, make sure to cover any exposed outlets or electrical wiring with a sound-blocking material. This will help to reduce the amount of sound that can escape from the room. Once all of these preparations have been made, the room is ready for the drywall installation process.
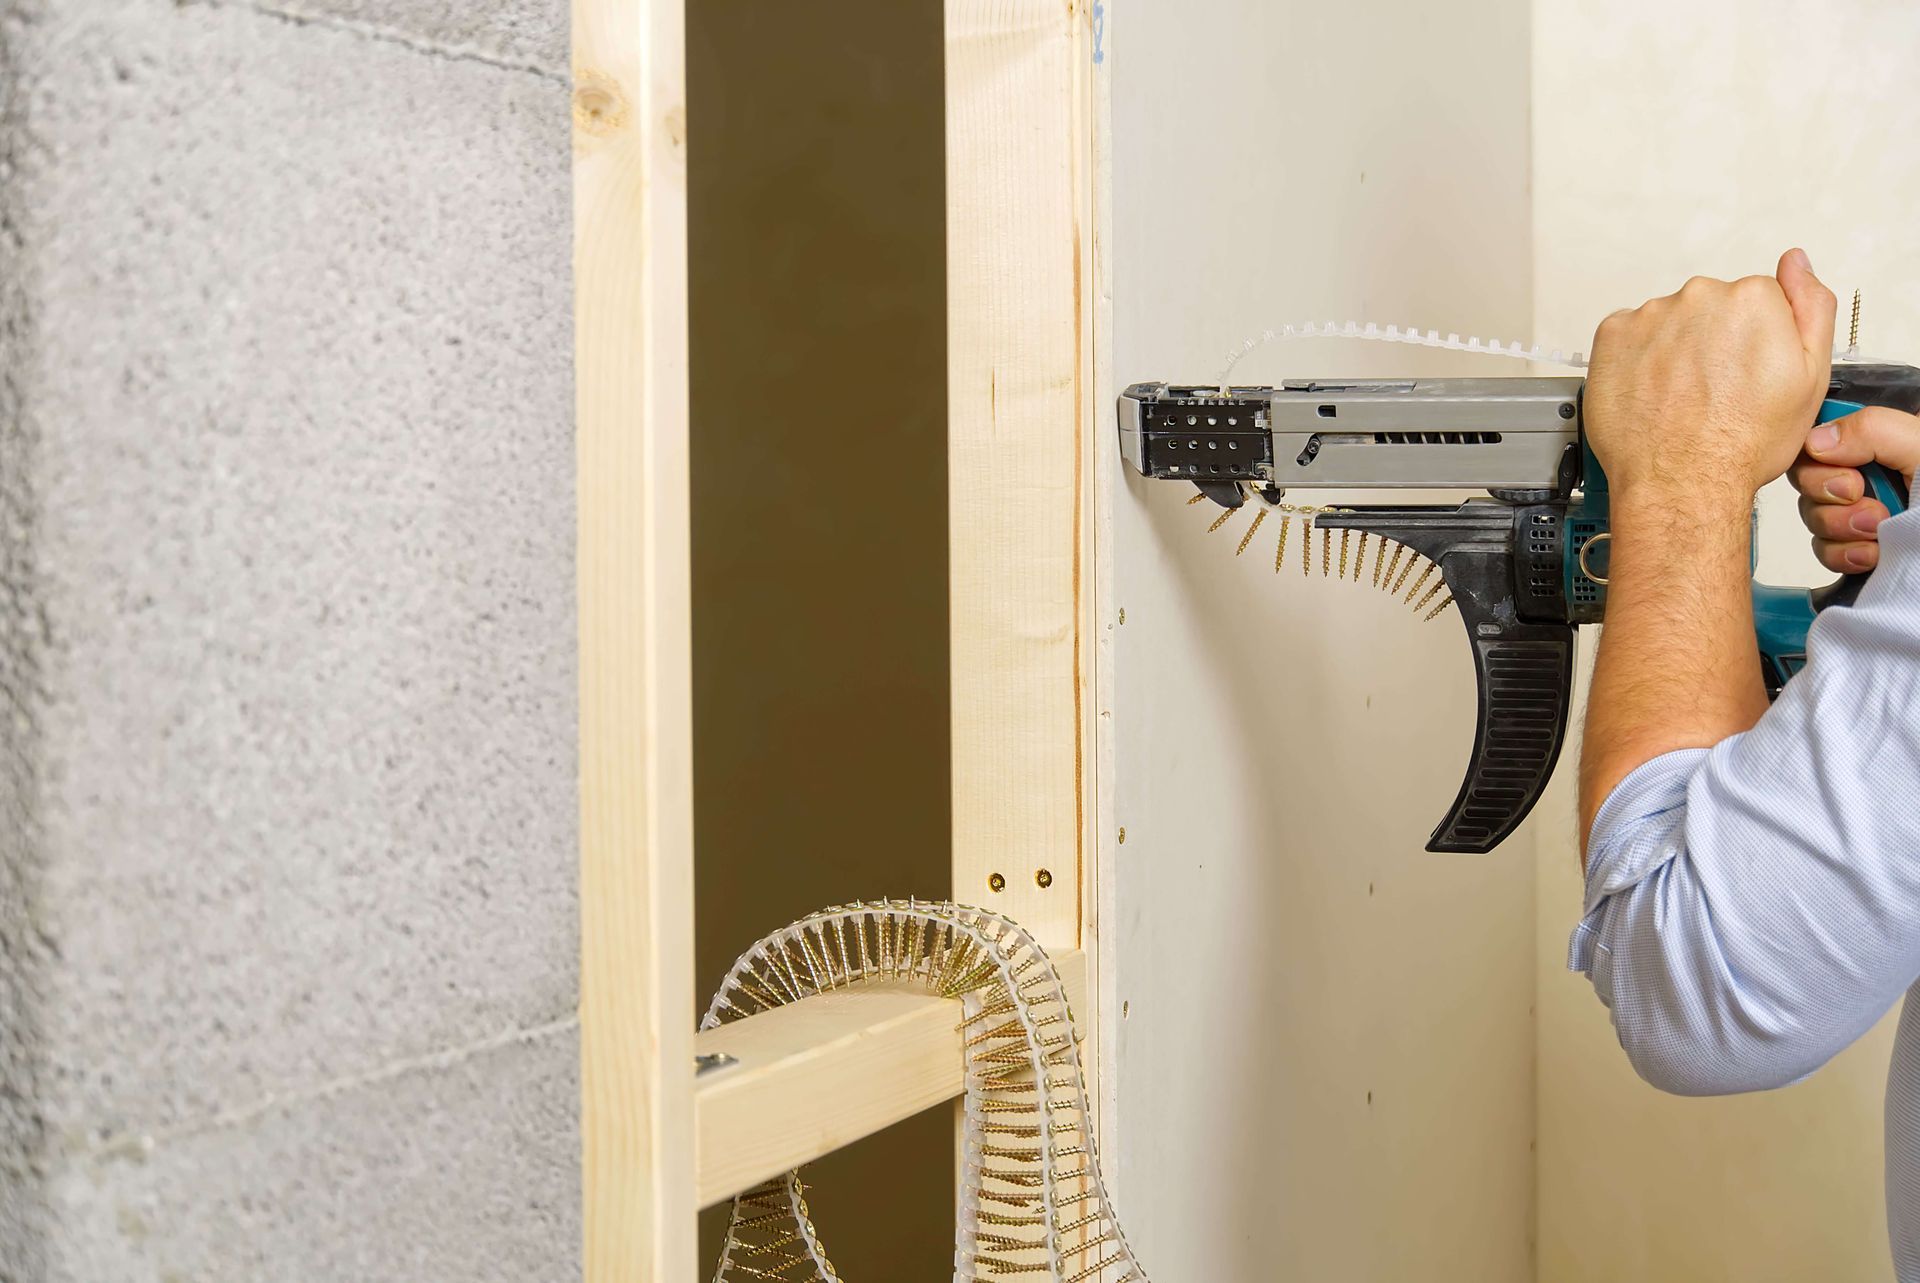
Installing the Drywall
Installing the drywall is a relatively straightforward process. Begin by measuring the space for the wall and cutting the drywall to fit. You will then need to screw the drywall into the frame using drywall screws. Make sure to space them at least 8 inches apart.Once the drywall is in place, it is time to add the soundproofing material. You will need to cut the soundproofing material to fit the drywall and then staple it in place. Make sure to use heavy-duty staples to ensure that the material remains secure.Now it is time to add the sealant. Use a caulk gun to apply the sealant around the edges of the drywall to ensure that there are no gaps or cracks. This will help to keep the sound from entering the room.Finally, you will need to add the joint compound. Joint compound is a thick paste that is used to fill in the gaps between the drywall and the soundproofing material. Use a trowel to apply the joint compound in a thin, even layer. Allow it to dry completely before sanding it down.Once the joint compound is dry, you can begin to paint the wall. Use a roller to apply the first coat and then allow it to dry before applying a second coat. Once the walls are completely painted, you will have successfully soundproofed your room with drywall.
Finishing the Drywall
Once the drywall has been installed, it will need to be finished. This process involves applying joint compound, which is used to fill in any cracks or gaps between the drywall pieces. It also helps to create a smoother surface, which makes it easier to paint or wallpaper over the drywall.To finish the drywall, you will need to purchase a few supplies. These include:-Joint compound-Taping knife-Small hand roller-SandpaperOnce you have the supplies, you will need to prepare the room. Clear away any furniture or other items that may be in the way, and make sure the room is well-ventilated.Once the room is ready, you will begin applying the joint compound. Start by using the taping knife to spread a thin layer of joint compound over the seams between the drywall panels. Make sure to cover all of the seams, and use the roller to help smooth out any bumps or lumps.Once the seams are covered, you will now begin applying a thicker layer of joint compound to the entire surface of the drywall. Use the roller to spread it evenly. You may need to use several layers of joint compound, depending on how smooth you want the finished product to be.Once the joint compound is dry, you will then need to sand it down. Use a fine-grit sandpaper and start in the corners and along the edges. Work your way toward the center of the wall. Be sure to sand in all directions, and not just in one direction. This will help to ensure that the surface is even.When you are finished sanding, it is important to thoroughly clean the room to remove any dust that may have been created while sanding. This dust can be harmful to breathe in, so it is important to ensure that the room is completely clean before you begin painting or wallpapering the drywall.By following these steps, you should now have soundproofed your room with drywall. Once the drywall is finished, you can now begin painting or wallpapering it to complete the look of the room.
Troubleshooting Common Problems
Sometimes, soundproofing a room with drywall can be difficult. The most common problems that arise are related to the materials used, the installation process, and the overall soundproofing quality.Materials IssuesOne of the most common problems with soundproofing with drywall is not using the right materials. It is important to use the correct type of drywall for soundproofing, as not all drywall is designed to insulate sound. For best results, use double-layered 5/8” type X drywall. This type of drywall will provide the most sound insulation and is designed to absorb sound better than other types of drywall.Installation ProblemsAnother common problem with soundproofing drywall is the installation process. Installing drywall can be difficult and time consuming. It is important to make sure that the drywall is properly secured to the wall and that all seams, gaps, and joints are properly sealed with caulk or other soundproofing materials. If the drywall is not properly secured, it will not be as effective at soundproofing the room.Soundproofing QualityThe final common problem with soundproofing with drywall is the overall soundproofing quality. Even if the drywall is properly installed, it may not provide the level of soundproofing that is desired. To ensure the best soundproofing quality, it may be necessary to add additional soundproofing materials, such as soundproof insulation or acoustic panels.Troubleshooting these common problems with soundproofing with drywall can be difficult and time-consuming. It is important to take the time to ensure that the correct materials are used, that the drywall is properly installed, and that additional soundproofing materials are used if necessary. Taking the time to properly troubleshoot any soundproofing problems will help to ensure that the room is properly soundproofed and that the desired soundproofing results are achieved.
Conclusion
In conclusion, soundproofing your room with drywall is a great way to block out outside noise. With the right materials and a little bit of patience, you can easily create a soundproof room that will help you relax and get a good night's sleep. It may take a bit of time and effort, but the results will be worth it. If you follow the step-by-step instructions outlined in this blog post and take the time to troubleshoot any common problems, you should be able to soundproof your room with drywall without too much difficulty. Good luck and happy soundproofing!
You might also like
Get Instant Quote