
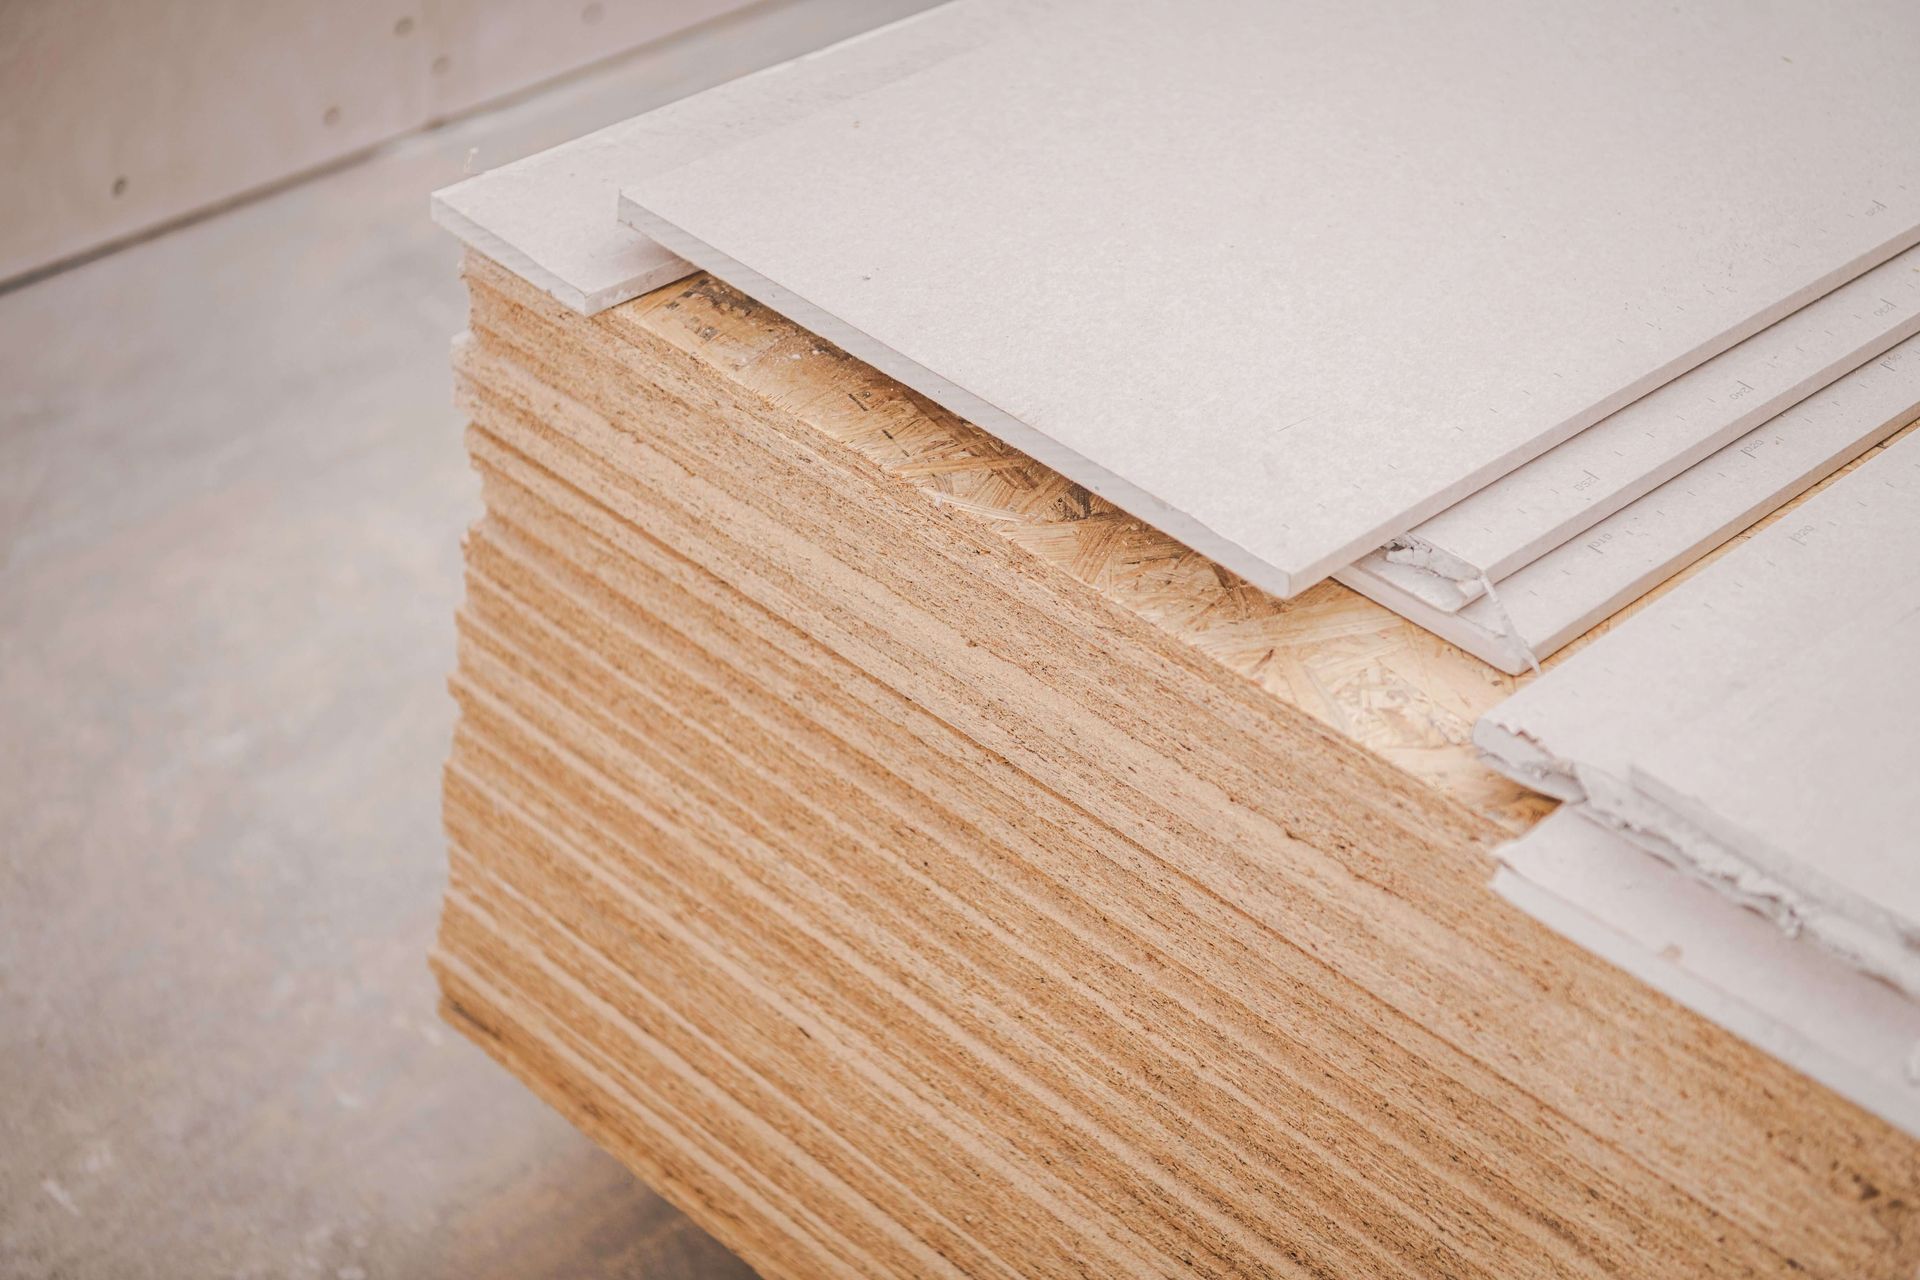
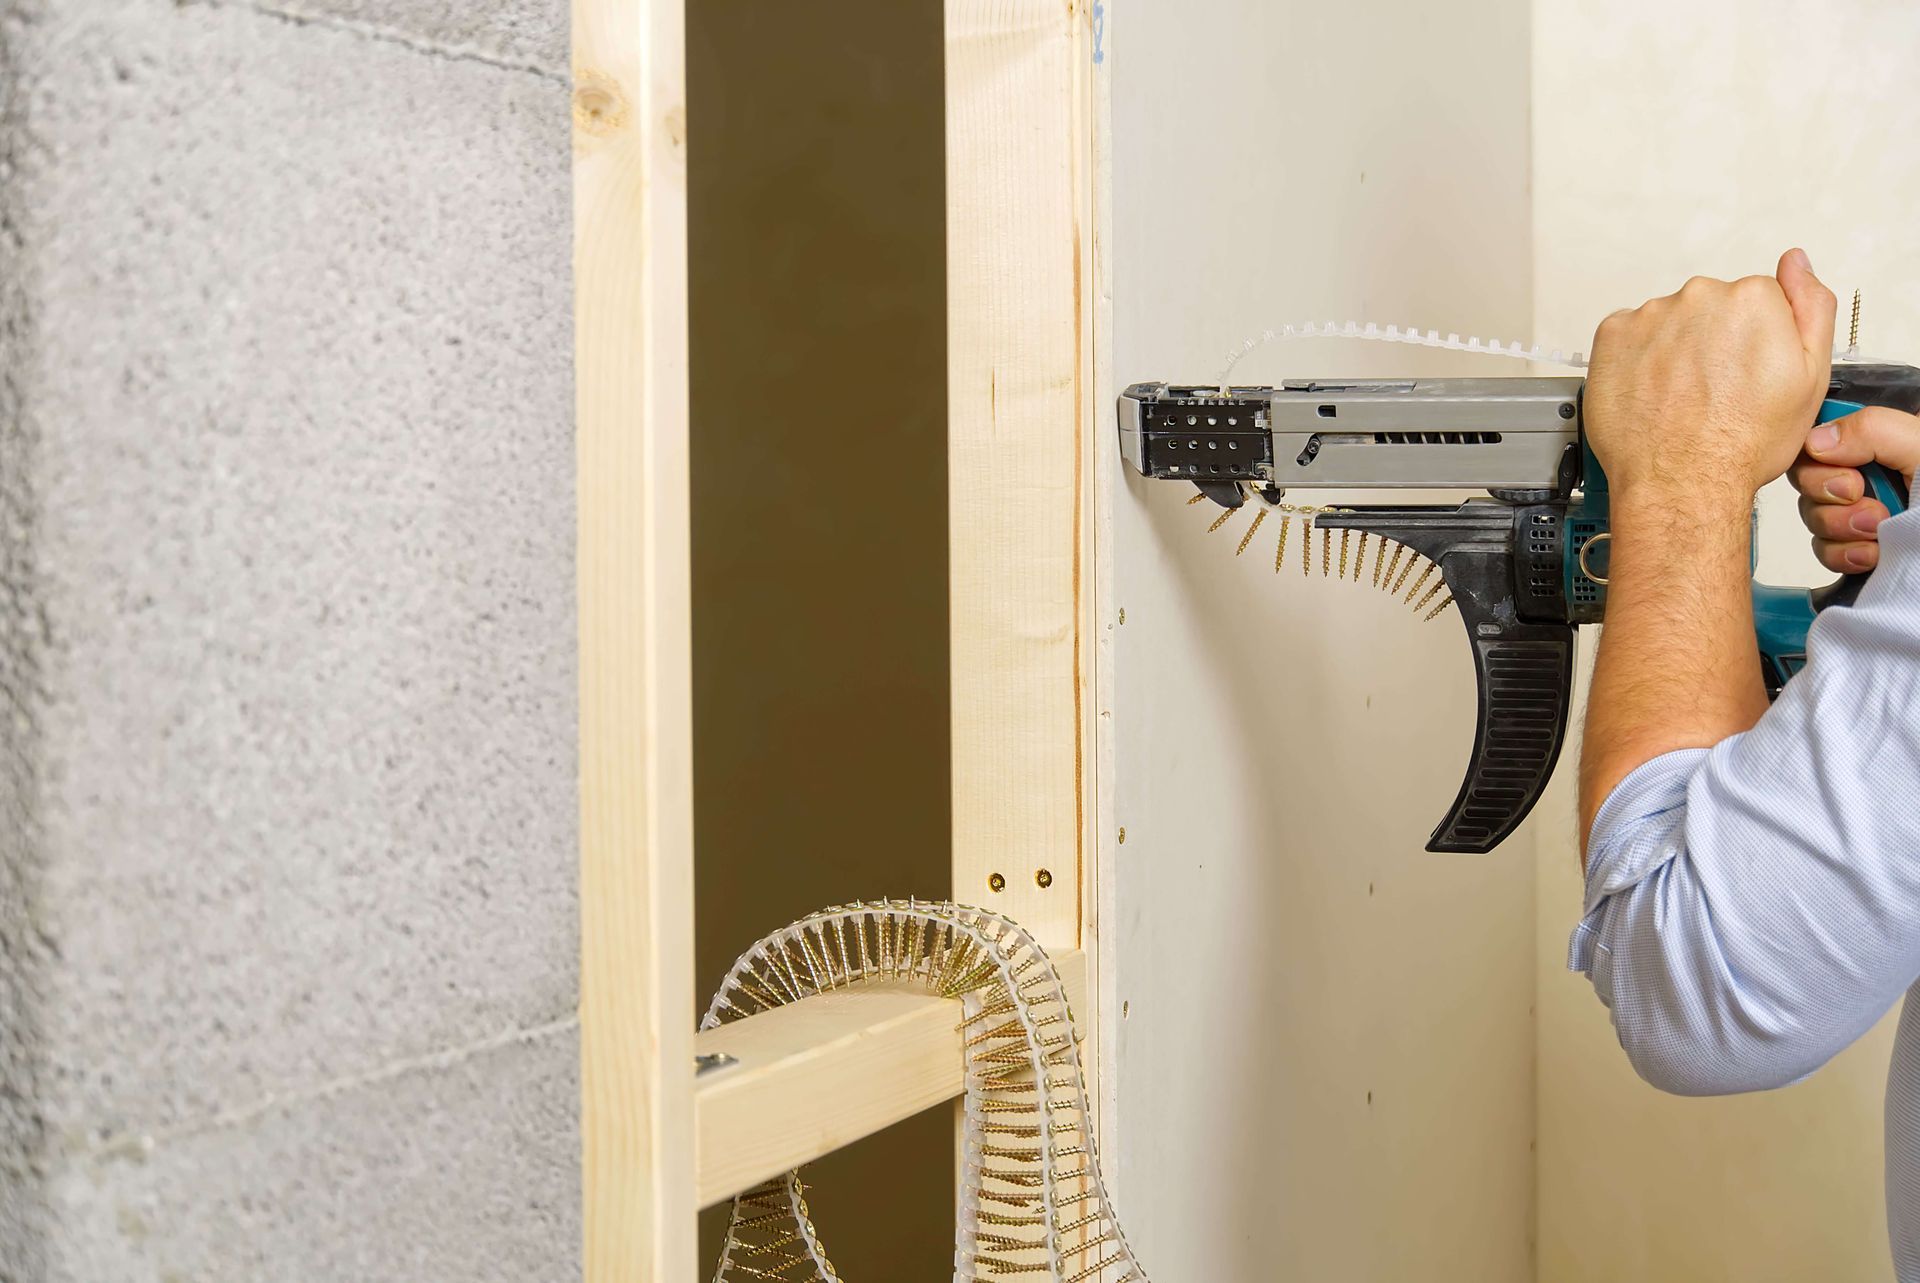
The Complete Guide to Preparing Your Walls for Painting after Drywall Installation
Drywall installation is complete! Time to prep your walls for painting!
When it comes to drywall installation and painting, the success of the project depends on proper preparation. This guide will explain in detail the steps required to prepare your walls for painting after drywall installation. The first step in any successful drywall installation is priming the walls. Priming provides a protective layer, preventing the paint from seeping into the wall and damaging the drywall. There are a variety of different primers available, so it’s important to do your research and choose the one that best suits your needs. After priming the walls, the next step is sanding. Sanding ensures that the walls are smooth and even, allowing for a uniform and professional-looking paint job. It’s important to use the right sanding tools and techniques, so make sure to do your research and consult with a professional if necessary. Before painting, it’s important to check for drywall seams. If the seams are not properly filled and sanded, the paint will not adhere properly and may cause the drywall to crack or flake off. It’s also important to apply caulk to the joints between the drywall sheets. This will help to ensure that the paint will adhere to the wall and will also help to prevent the formation of mold and mildew. Once the walls are primed, sanded, and the drywall seams are filled, it’s time to clean the walls. This is an important step, as dirt and dust can interfere with the adhesion of the paint. A vacuum or damp cloth should be used to remove any debris from the walls, paying special attention to corners and crevices. With the walls prepped and ready to go, it’s time to apply the paint. Starting with a coat of primer is recommended, as this will help to ensure the paint adheres properly and prevents any imperfections from showing through. Once the primer has dried, apply a coat of paint in even strokes. If needed, a second coat may be applied for full coverage. Finally, the walls should be inspected for any imperfections and any necessary touch-ups should be made. The walls are now ready for painting and you can enjoy the fruits of your labor!In conclusion, it’s important to take the time to properly prepare your walls for painting after drywall installation. The steps outlined in this guide should help you achieve the desired results and ensure that your project is a success. With the right preparation, you can create a beautiful and professional-looking paint job that will last for years to come.
Prepping the Walls
Preparing the walls for painting after drywall installation is an important step. It helps ensure that the paint will adhere well and last a long time. The first step is to prime the walls. Priming the walls is important because it helps to seal the drywall and create a solid base for the paint. Primer also helps to prevent any minor imperfections in the drywall from showing through the paint job. It is best to use a primer that is designed specifically for drywall.The second step in prepping the walls is to sand them. Sanding helps to smooth out any bumps or imperfections in the drywall. It also helps to remove any residue that may be on the walls from the drywall installation process. Be sure to use a fine grit sandpaper and use a light touch when sanding to avoid damaging the drywall. After sanding, be sure to clean the walls with a damp cloth to remove any dust or debris. Painting the walls after drywall installation is a multi-step process. Taking the time to properly prepare the walls is essential for achieving a professional looking finish. By following these steps, you can ensure that your walls are ready for painting and that the paint will last for years to come.
Priming the Walls
Priming is an important step in the preparation process for painting your newly installed drywall. Priming the walls helps to seal out moisture and prevent any form of mold or mildew from forming. A good primer will also act as a base for the paint that you ultimately choose to use.Before you start priming the walls, you should always make sure that the walls are completely dry. Any moisture on the walls can cause the primer to bubble and create uneven patches on the walls. You should also make sure to apply an even coat of primer to the walls. Start at the top of the wall and work your way down in a smooth, even motion.When applying the primer, you should use a brush, roller, or a spray gun, depending on the type of primer you’re using. If you are using a brush, make sure to use a high quality brush with synthetic bristles. A roller should always be used for larger areas and a spray gun for more intricate areas. It’s important to make sure that the primer is evenly applied to the entire wall.Once the primer has been applied to the walls, you should allow it to dry for at least 24 hours before you start painting. This ensures that the primer has fully adhered to the walls and is ready for the paint.Priming the walls is an essential step in the preparation process for painting, and it’s important to take your time and make sure that the walls are properly prepped before you start painting. With the right preparation, you’ll be able to achieve a professional looking finish on your walls.
Sanding the Walls
Sanding is an important part of the wall preparation process before painting. It is important to sand any drywall compound that was used to finish the walls, as this will help create a smooth surface for the paint to adhere to. Sanding also helps to remove any imperfections in the wall, such as bumps, ridges, or cracks.To sand the walls, you will need a sanding sponge or a sanding block and some medium-grit sandpaper. Start by dampening the sandpaper and sanding sponge. This will help to create a smoother surface and avoid the risk of damaging the drywall. Start sanding the walls in an up and down motion, and use a light pressure. This will help to create a smoother surface and avoid creating any deep scratches.If there are any areas that are particularly bumpy, use a sanding block and a slightly higher grit sandpaper to smooth them out. Be sure to sand the entire wall, paying special attention to any areas where the drywall may have been patched. Once the walls have been sanded, use a vacuum cleaner to remove any dust from the walls.After you have finished sanding the walls, you can use a damp cloth to wipe away any remaining dust. Once the walls are completely dry, you can begin applying primer. This will help to create a better bond between the paint and the wall.
Pre-Painting Considerations
Before painting your walls, there are some important considerations to make. It is essential that all drywall seams are checked for any cracks or gaps. These should be filled in with a spackling compound prior to painting. Caulking should also be applied to all joints, including along the baseboard and ceiling line. Any gaps between the drywall and the framing should also be filled in with caulk. Once the caulking is complete, the walls should be wiped down with a damp cloth to remove any dust or dirt. Additionally, it is important to inspect the walls for any imperfections or blemishes. Priming the walls prior to painting will help to reduce the visibility of these imperfections and provide a smoother overall finish. Finally, it is important to choose the proper type of paint for the job. Different types of paint are better suited for different types of surfaces. Make sure you select the right paint for your walls and that it is rated for use in the area you’re painting. By following these pre-painting considerations, you can be sure that your walls are properly prepared for painting and that you’ll get the best possible finish.
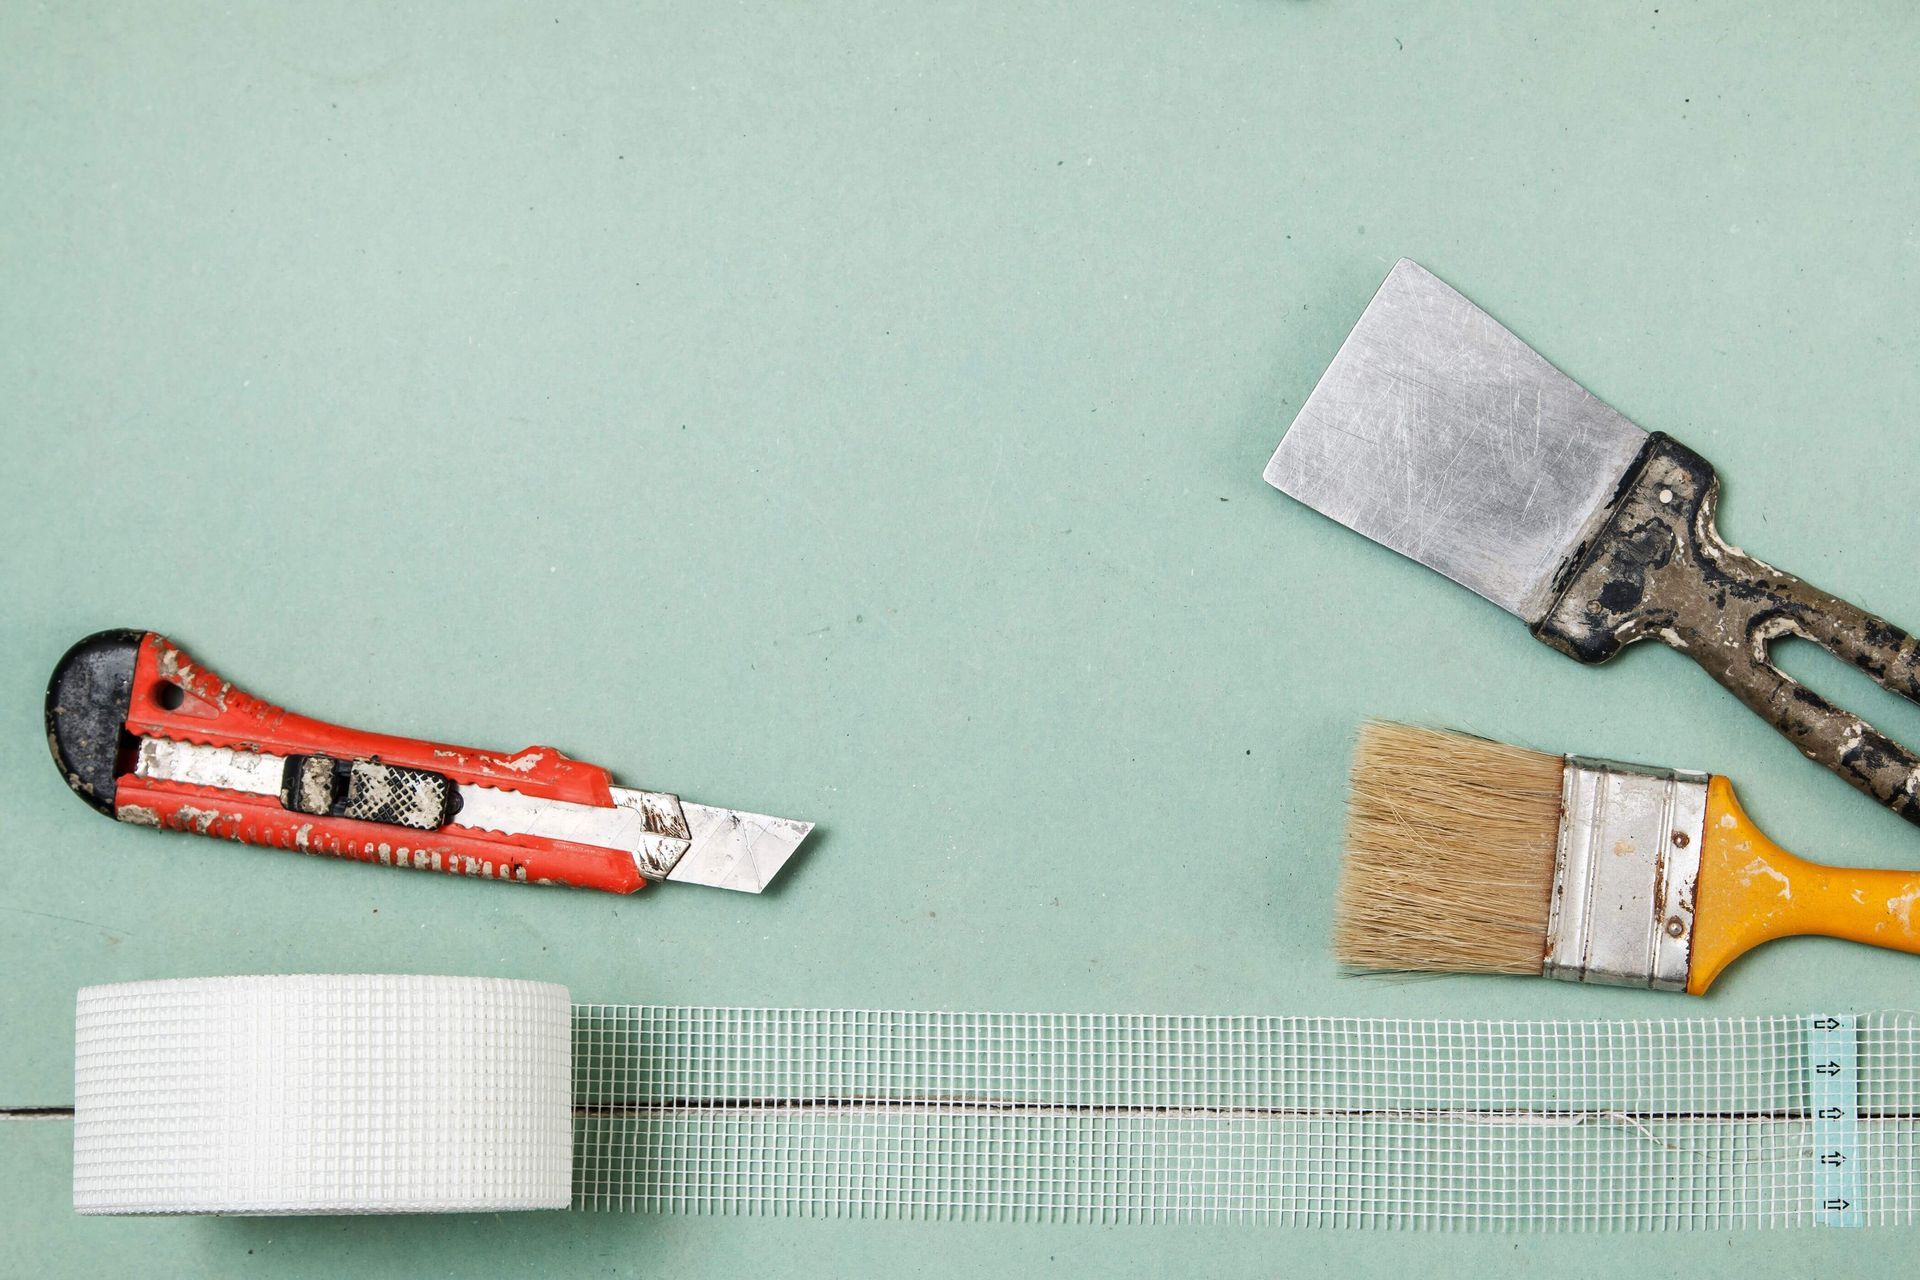
Checking for Drywall Seams
When preparing your walls for painting after drywall installation, it is important to check for drywall seams. If the seams are visible, they can cause unevenness in the finished paint job, so they must be filled first. Start by running your hand over the surface of the walls to check for any raised areas. These may be drywall seams that need to be filled. If you find any, use a putty knife to fill them with drywall compound. Make sure to fill it in as evenly as possible.It is also important to check for any nail or screw holes in the drywall. These will need to be filled with drywall compound and sanded down to create a smooth finish. Once all of the seams and holes have been filled, it is time to sand the walls. This will help create a smooth, even finish before painting. Use a sanding block to gently sand the walls, making sure to pay attention to any areas that have been filled with drywall compound. It is also important to vacuum the walls after sanding. This will remove any dust that could interfere with the paint job. Once the walls have been prepped, you can move on to the final steps of preparing them for painting. Make sure to check for drywall seams and fill any holes before you begin. This will ensure that your paint job is even and professional looking.
Applying Caulking to Joints
Caulking is an important step in preparing drywall joints for painting. Not only does it help create a smooth, even surface for the paint to adhere to, it also seals any gaps and prevents moisture and dirt from seeping into the joint. Applying caulk is easy and can be done quickly with the right tools. Before you begin, make sure you have the right type of caulk for the job. High-quality latex caulk is generally the best choice for drywall joints, since it adheres well to the surface and is easy to work with. Once you have the right type of caulk, you’ll need to apply it carefully. Start by cutting the tip of the caulk tube at a 45-degree angle. This will help you get a precise application. Then, squeeze a small bead of caulk along the joint. Try to keep the bead as even and consistent as possible. Next, use a putty knife or a damp rag to smooth out the caulk. Make sure to fill in any small gaps or cracks. Be careful not to over-apply the caulk, as it will be difficult to remove if you use too much. Finally, allow the caulk to dry overnight before painting. This will ensure that the caulk is fully adhered to the wall and will provide a smooth finish for your paint job. With the right preparation and supplies, applying caulk to drywall joints is an easy and effective way to ensure that your walls are ready for painting. It’s a quick step that can make a big difference in the final look of your walls.
Cleaning the Walls
Cleaning the walls is a critical step in the process of preparing for painting after drywall installation. It's important to remove any dust or debris that may have accumulated on the walls during the drywall installation process. To ensure a successful paint job, give the walls a thorough cleaning before you start painting. The first step is to use a vacuum cleaner with a soft brush attachment to thoroughly vacuum the walls. This will remove any dust or debris that may have accumulated during the drywall installation. Make sure to get into the corners and crevices. Vacuuming the walls will also help to loosen up any paint chips or flakes that may have come off the walls during the drywall installation. Once the walls have been vacuumed, it's time to use a mild cleaning solution to remove any dirt and grime that may have built up on the walls. Start by mixing one part mild detergent to four parts warm water in a bucket. Then, use a sponge or soft cloth to clean the walls with the solution. For tough spots, use a soft-bristled brush to help loosen the dirt and grime. Once the walls have been cleaned, rinse the walls with clean water. Be sure to use a clean sponge or cloth for this step. Once the walls have been rinsed, use a clean cloth to dry the walls. Make sure to get into any crevices or corners that may have been missed in the cleaning process. Finally, inspect the walls for any areas that may need additional cleaning. If you find any areas that need to be cleaned, repeat the above process until the walls are completely clean. Cleaning the walls is an important step in the process of preparing for painting after drywall installation. By properly cleaning the walls, you will ensure that the paint will adhere well and the end result will be a beautiful and professional paint job.
Final Preparations
Once you have prepped the walls with priming and sanding and checked for drywall seams and applied caulking to joints and cleaned the walls, you will want to begin with the final preparations for painting. First, you should gather all of the materials you need, such as a roller, paintbrush, paint tray, and paint. You will also want to have some drop cloths or other protection ready to go in order to protect your floors and furniture from getting splattered with paint. Once you have gathered all of your materials, you will want to begin by applying a coat of paint to the walls. Start with the ceiling first, then move on to the walls. To paint the ceiling, you will want to use a roller and a small brush. Start in the corner and work your way outward, making sure to cover the entire ceiling. Once you have finished painting the ceiling, you can start painting the walls. Use the roller to paint large, even strokes across the walls, making sure to cover the entire wall in paint. Once the first coat of paint is dry, you can begin to apply a second coat. Again, you will want to use the roller and small brush to apply the paint. It is important to make sure that the second coat is even and that you have covered the entire wall. Once both coats of paint have dried, you can begin to enjoy your newly painted walls!Making sure to properly prepare your walls before painting is a key step that will help ensure your paint job looks great. Following the steps outlined in this guide will help you ensure that the walls are properly prepped and ready to be painted.
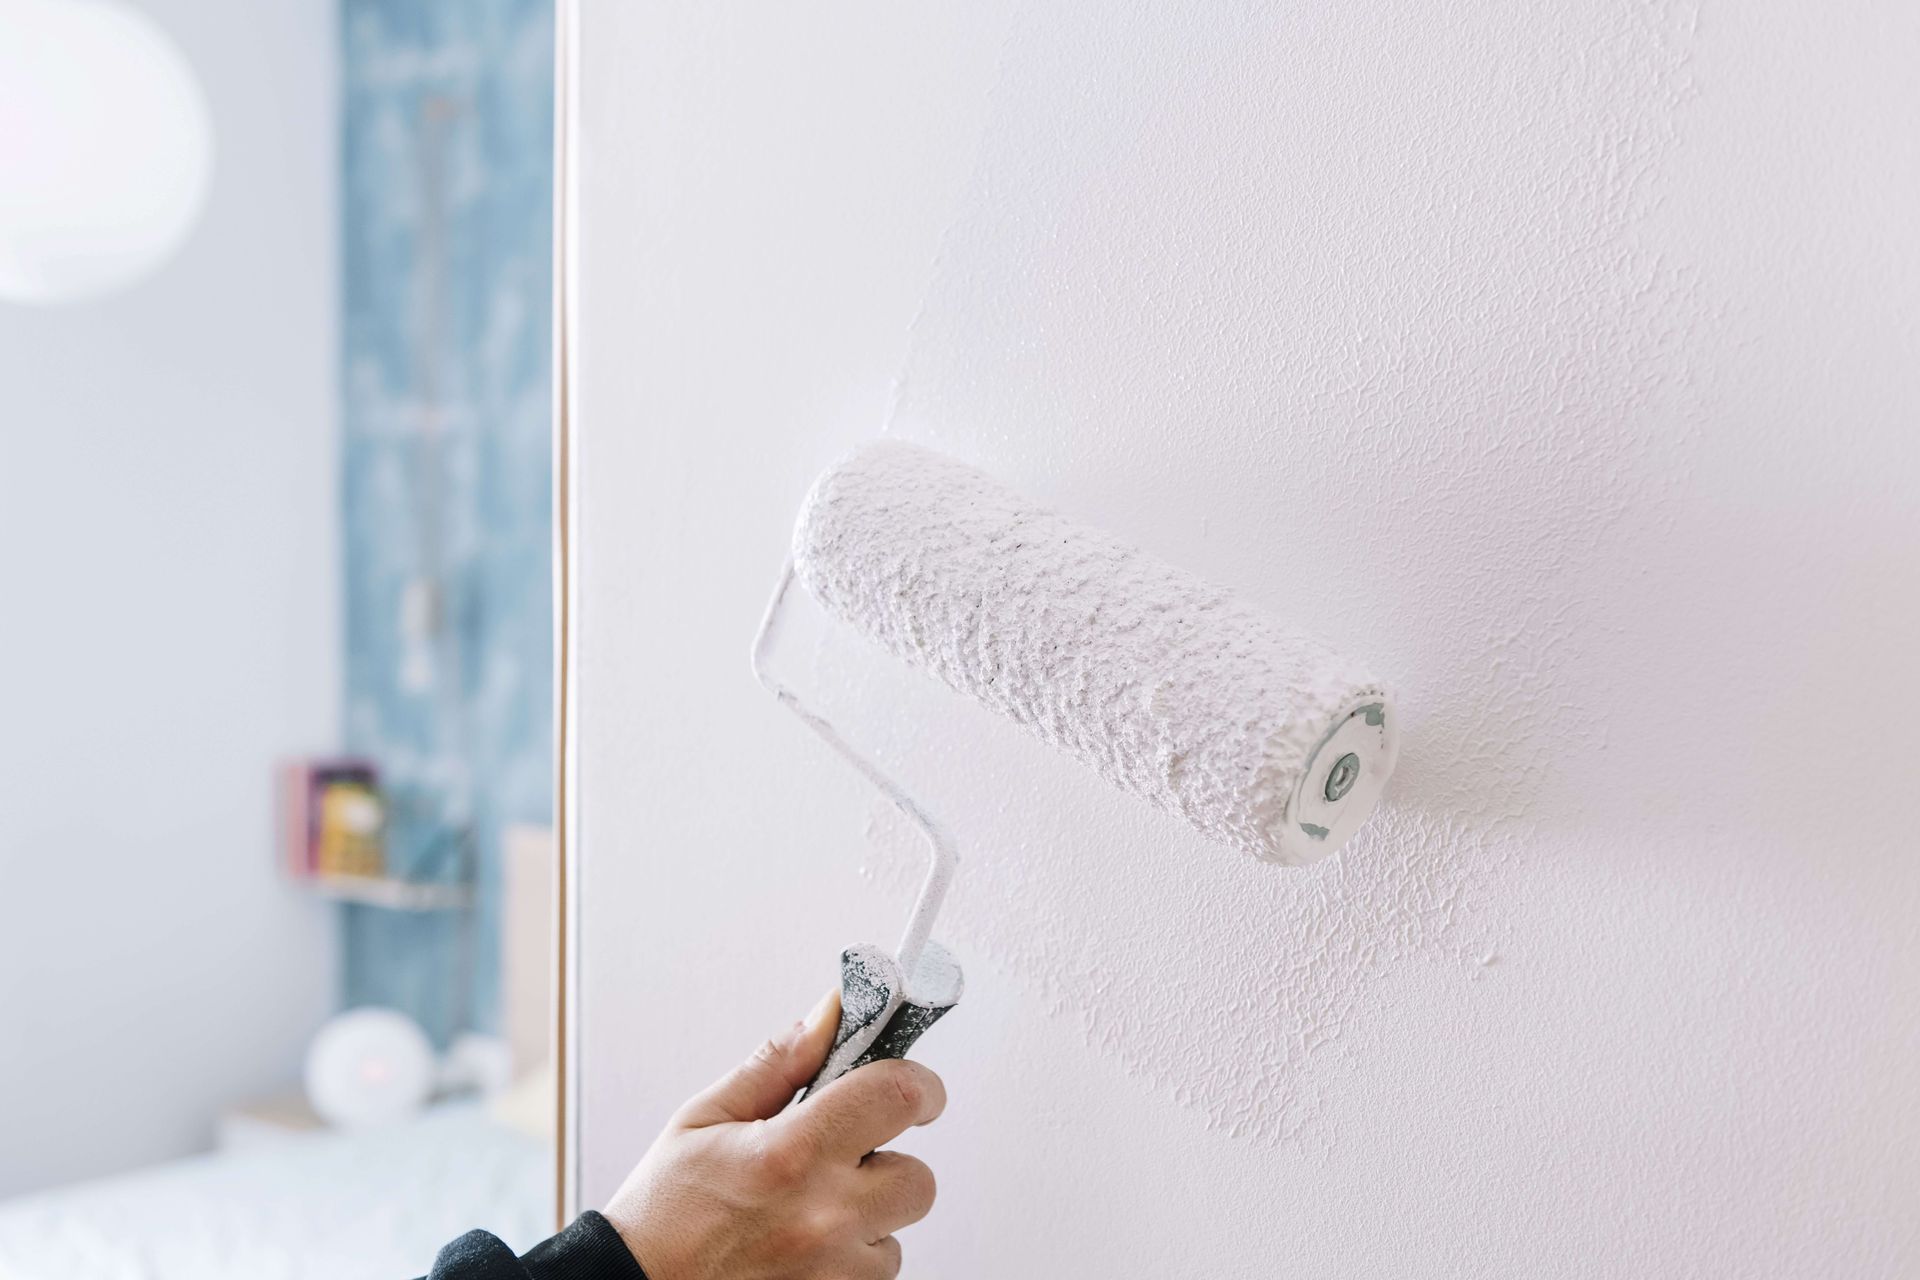
Applying a Coat of Paint
Once the walls have been prepped and the paint color has been chosen, it’s time to get to work applying a coat of paint. Before you begin, it’s important to make sure that you have the right supplies on hand. You’ll need to grab some paint, a brush, a roller, a tray, and a ladder. The first step is to open the can of paint and stir it thoroughly. Then, pour some paint into the tray and start to use the brush to apply it to the walls. Make sure to use an even, up and down motion and to cover the entire surface of the wall. You may also want to use a circular motion to ensure an even coat. Once you have finished with the brush, it’s time to use the roller. It’s important to use a clean roller and to make sure that you apply the paint in an even and consistent manner. It’s also important to avoid applying too much paint, as this could result in an uneven finish. While painting, it’s important to keep an eye on the walls for any missed spots or areas that may need to be blended. If you find any, use your brush to blend them in and ensure an even coat. As you finish each section of the wall, use the brush to make sure that the edges are blended in properly. Once the first coat of paint is complete, it’s time to move to the second coat. For this coat, you’ll need to use the same technique as the first coat, but you may want to use a different brush or roller to make sure that the coat is even and consistent. When applying the second coat of paint, it’s important to avoid over-applying the paint, as this could lead to an uneven finish. If you find yourself having to apply multiple coats of paint, it’s important to wait until the first coat has had time to dry before adding the second coat. When you have finished applying the second coat of paint, it’s important to let the walls dry completely before you move on to the next step. This could take a few hours, so make sure that you plan accordingly. After the walls have dried, you’ll be ready to move on to the final step of the process: applying the protective sealant.
Applying a Second Coat of Paint
Once you have finished the first coat of paint on your walls, it's time to begin applying a second coat. This coat of paint is the most important, as it will be the final layer that will give your walls the finished look. It is also important to make sure that you are applying the second coat of paint correctly, or the results could be disastrous.Before you begin painting, it is important to make sure that the first coat of paint is completely dry. This can usually take around four to six hours, depending on the type of paint and how thick the first coat was applied. You should also make sure that the walls are free of any dust or dirt, as this can affect the ability of the second coat of paint to adhere to the walls properly.When applying the second coat of paint, it is important to use the same type of paint as you used for the first coat. This ensures that the finished product will have a consistent and even look. If you are using a roller to apply the paint, make sure that the roller is clean and free of any lint or dust. You should also ensure that the roller has a nap length of at least 1/4 inch, as this will help to create a smooth finish.When you are applying the second coat of paint, it is important to use a light, even stroke. Do not press too hard on the roller, as this can cause the paint to be unevenly distributed. Make sure that the roller is always moving in the same direction and that all strokes are even.It is also important to make sure that you are covering the entire surface of the wall. If you miss any spots, they will be visible when the painting is complete. To ensure that all areas are covered, use a brush to fill in any areas that were missed with the roller. Once the second coat of paint is applied, make sure that you let it dry completely before you begin to work on any other projects. This will help to ensure that the finished product is even and has a smooth finish.
Conclusion
When it comes to painting your walls after drywall installation, proper preparation is key. Proper preparation enables you to get a professional-looking finish with minimal effort. This guide has given you all the steps you need to take to prepare your walls for painting, from prepping the walls to finalizing the preparations. Remember that priming is essential for a good paint job. When priming, use a quality primer to ensure the best results. Sanding is also important for a smooth finish. Be sure to check for drywall seams, apply caulk to joints, and clean the walls before applying a coat of paint. Finally, apply a second coat of paint for a truly professional look.By following the steps outlined in this guide, your walls should be ready for a beautiful finish. With a bit of patience and care, you can create stunning results. Whether you are painting a single wall or a whole room, a little preparation goes a long way. So take the time to properly prepare your walls for painting after drywall installation, and you will be rewarded with a beautiful, professional finish.
Painting your walls post drywall installation is something our drywall experts take pride in. Fill out the form below or give us a call at 804-596-6255
You might also like
Get Instant Quote